Quick Tour
Add a device
Before adding any device, ensure that you have properly configured the network settings on the device that you want to add.
Note:
- For more information about the network configurations, please refer to the device documentation.
- For Optoma devices, please
• Remember that you must first setup the projector’s password via the website, otherwise the connection will fail (no connection will be made).
• Turn off the OSD security lock
• Turn on Telnet OR PJLink in network settings and change the power mode to” Active Mode” or “Communication Mode”.
** AIO LED Display, please power on the device first.
•For other devices, please turn on Telnet in network settings and change the power mode to “Network Standby Mode”
In the top-left corner, click Device and click Add in the top-right corner.
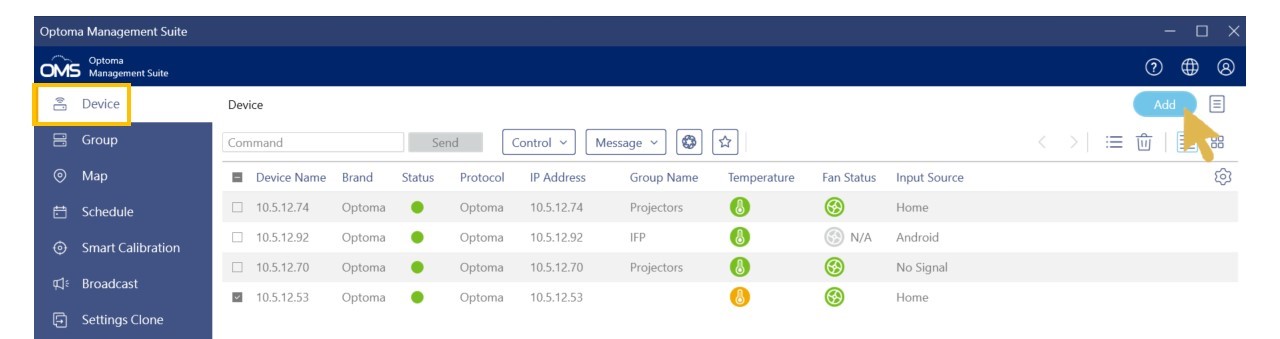
In Add New Device pop-up window, choose one of the following options:
1. Automatic Search: Search for devices on the same network. Click Search.
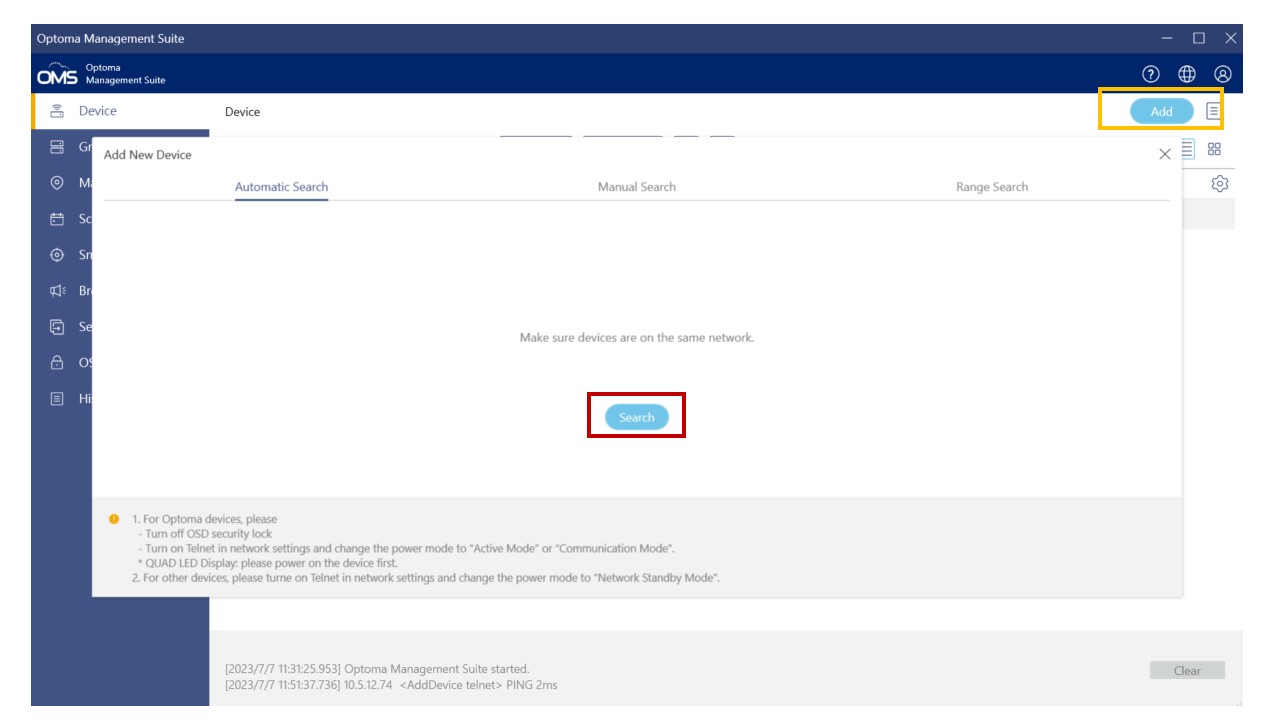
Note:
For Non-Optoma Product, the Automatic Search function only supports PJLink class 2.
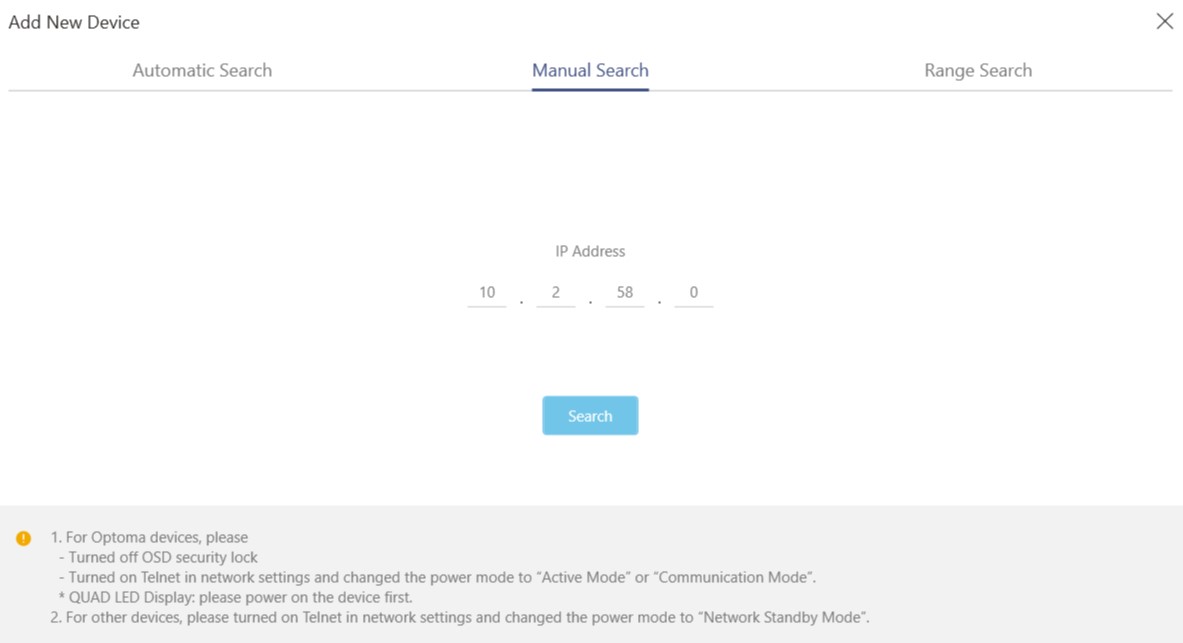
2. Manual Search: Search for devices by specifying the IP address. Enter an IP address.
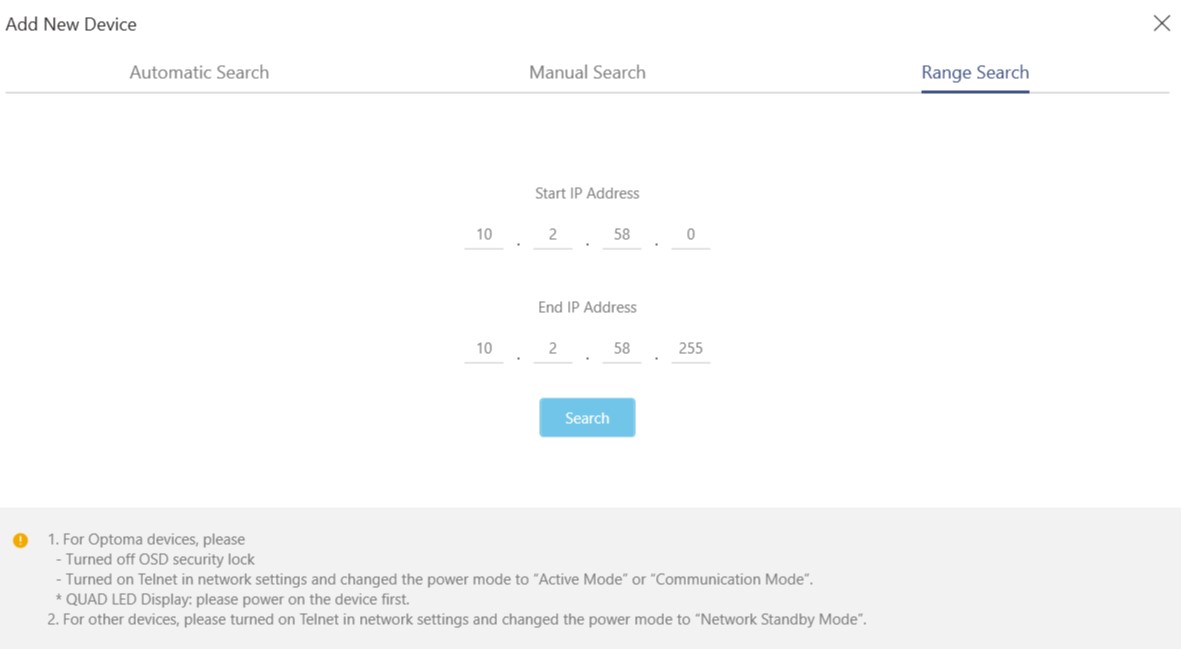
3. Range Search: Search for devices by setting an IP address range. Enter an IP address in Start IP address and End IP address, and then click Search.
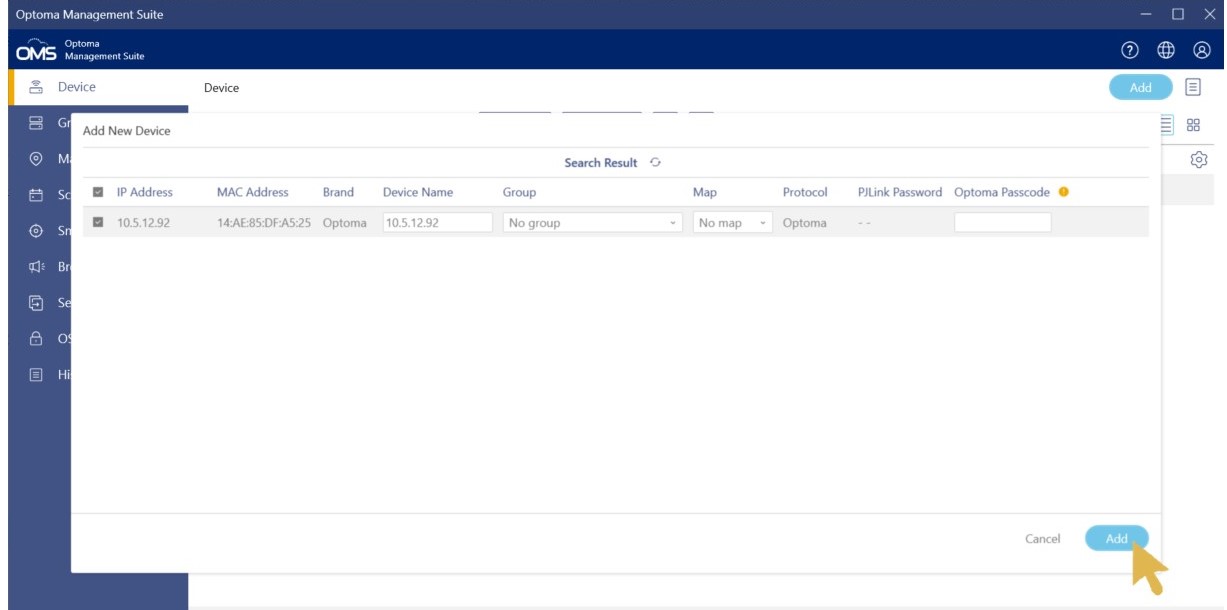
- After your search method finds devices connected on your network, you can check the box next to the device you wish to add to your device list.
- In the Device Name box, you may customize the name of each device as it will appear in your device list.
- You may also choose to select a Group which each device will belong to or enter the Optoma passcode once you need to use advanced functions such as broadcast, settings clone or smart calibration. Once you finish adding devices, you can click the “Add” button.
Note:
If the message below appears on the screen when you add a device, follow the steps below.
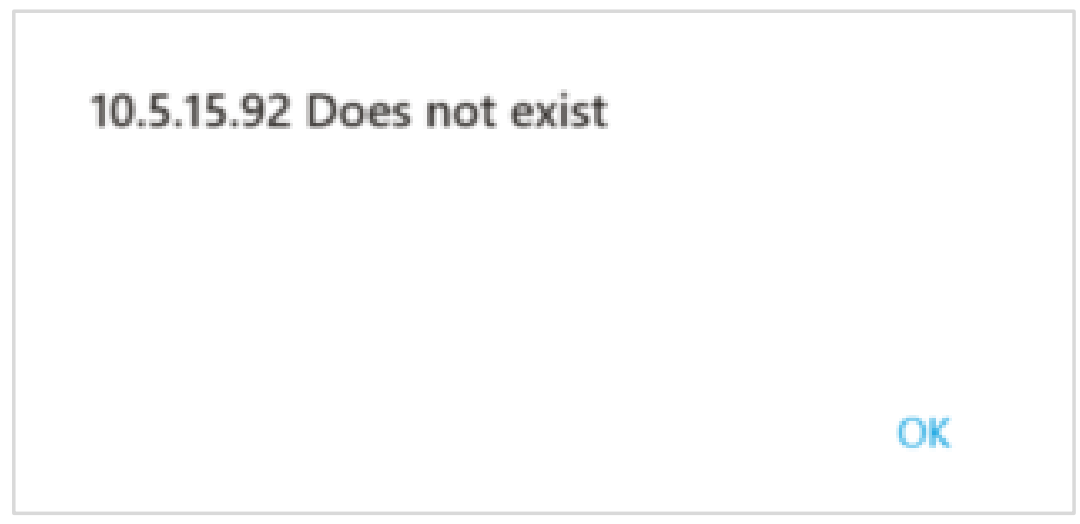
Check the network configurations on the device.
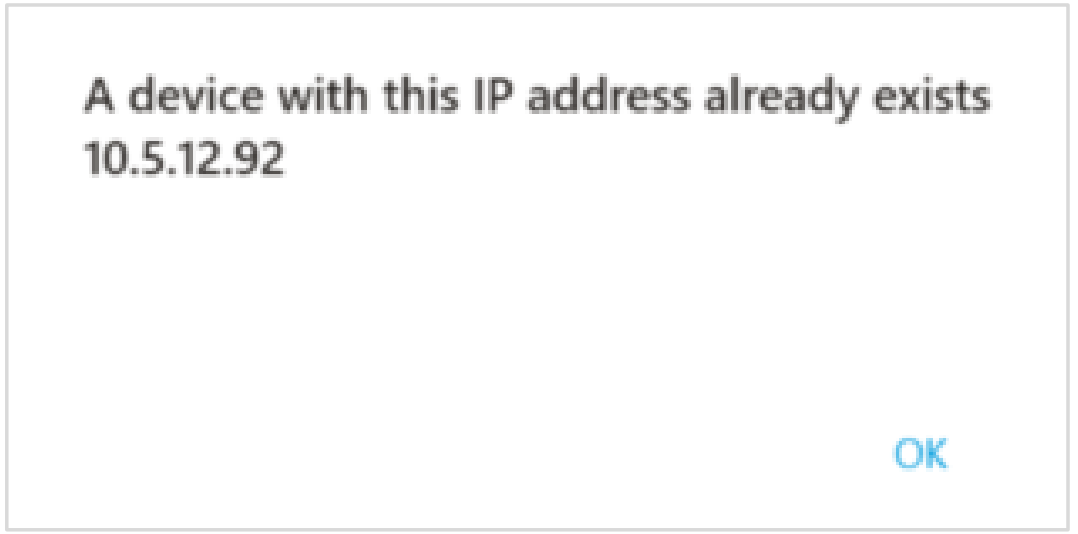
Change the IP address of the device. You cannot add multiple devices with the same IP address.
Create a group
To create a group, do the following.
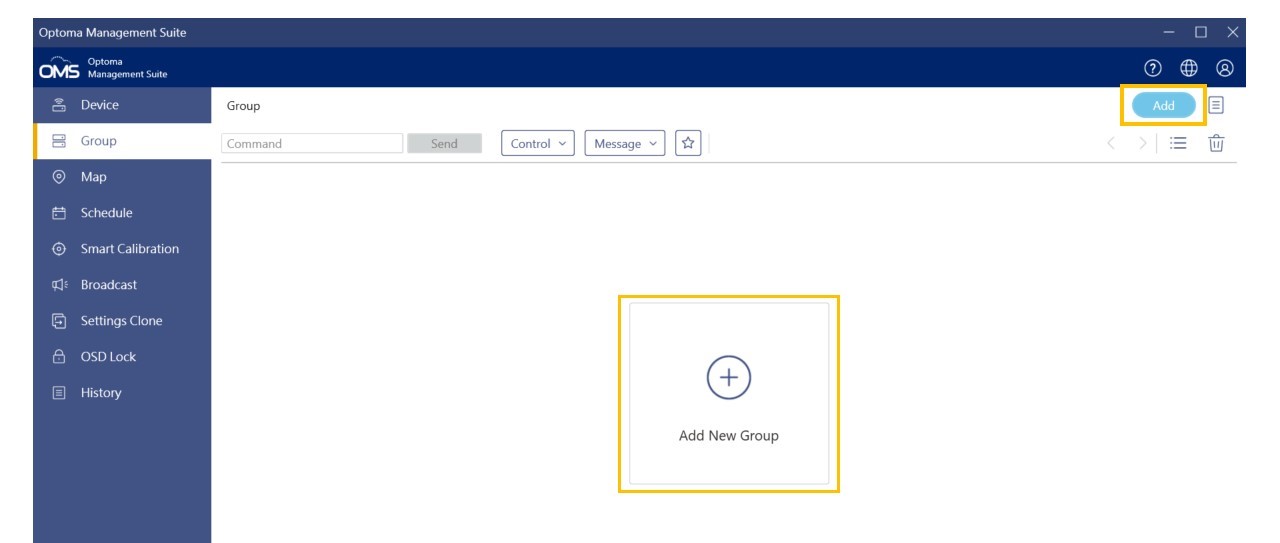
In the top-left corner, click Group which is under the Device, and click Add in the top-right corner or Plus icon (![]() ) for Add New Group in the middle of the screen.
) for Add New Group in the middle of the screen.
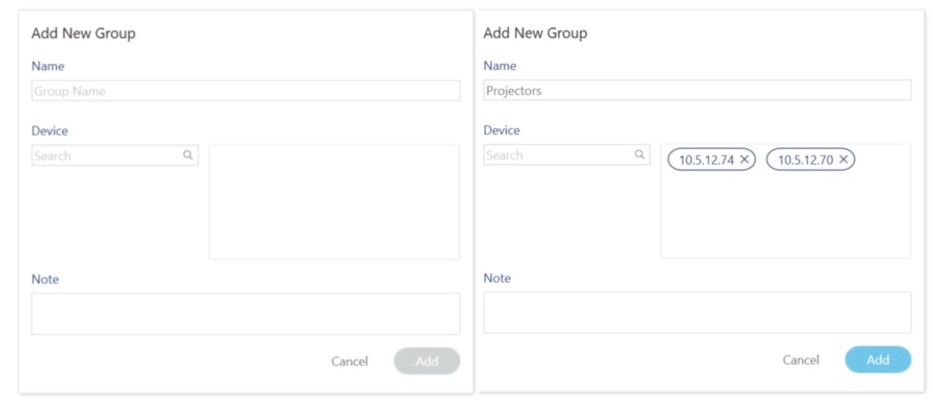
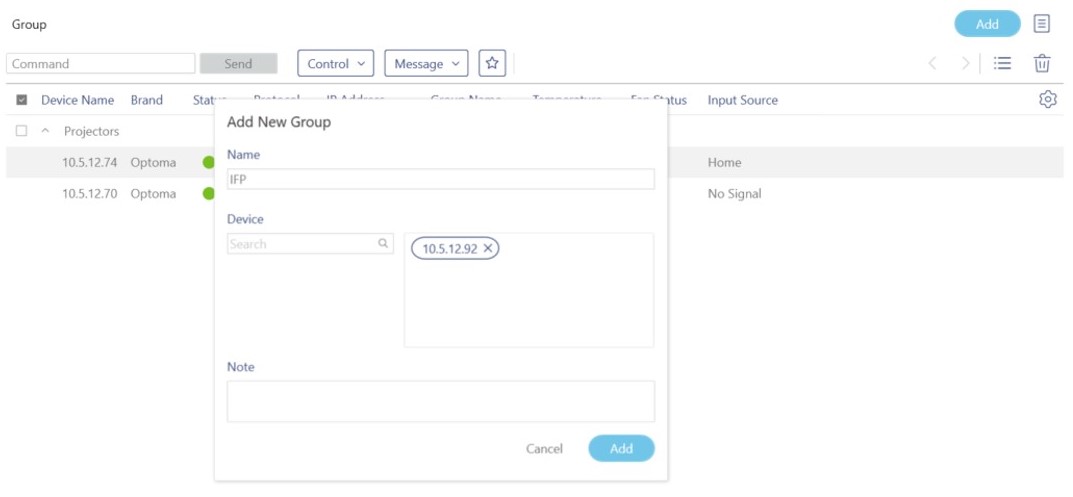
Enter the group name and search for devices. After adding groups, you can click Add.
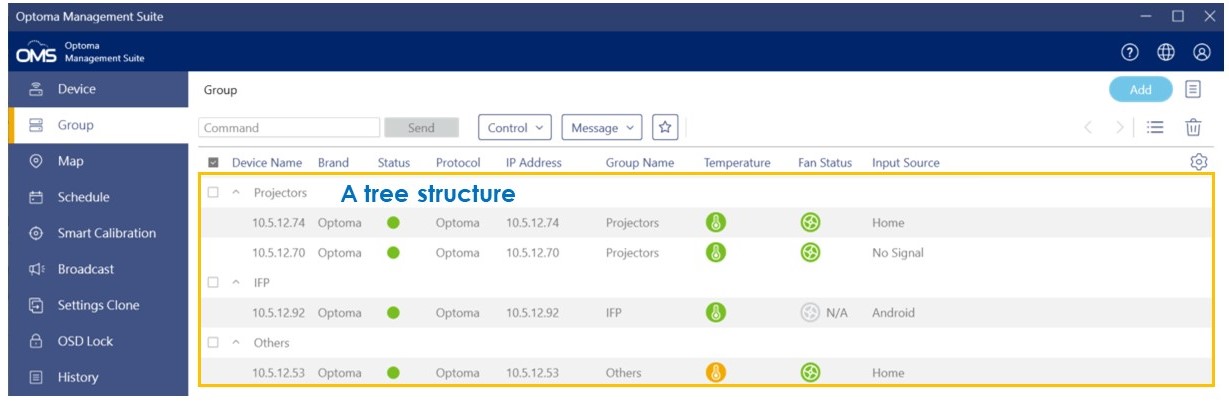
After a group is created, you can see all devices and device groups managed by OMS showed in a tree structure.
Delete a device or group
To delete a device from the list, do the following:
When you are on the device page, select the device you want to delete, and then click the Delete icon (![]() ).
).
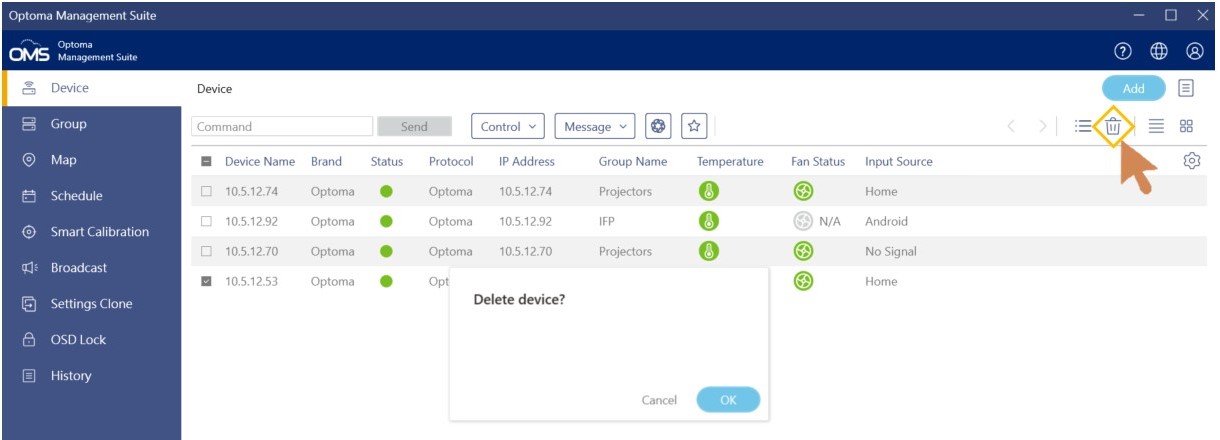
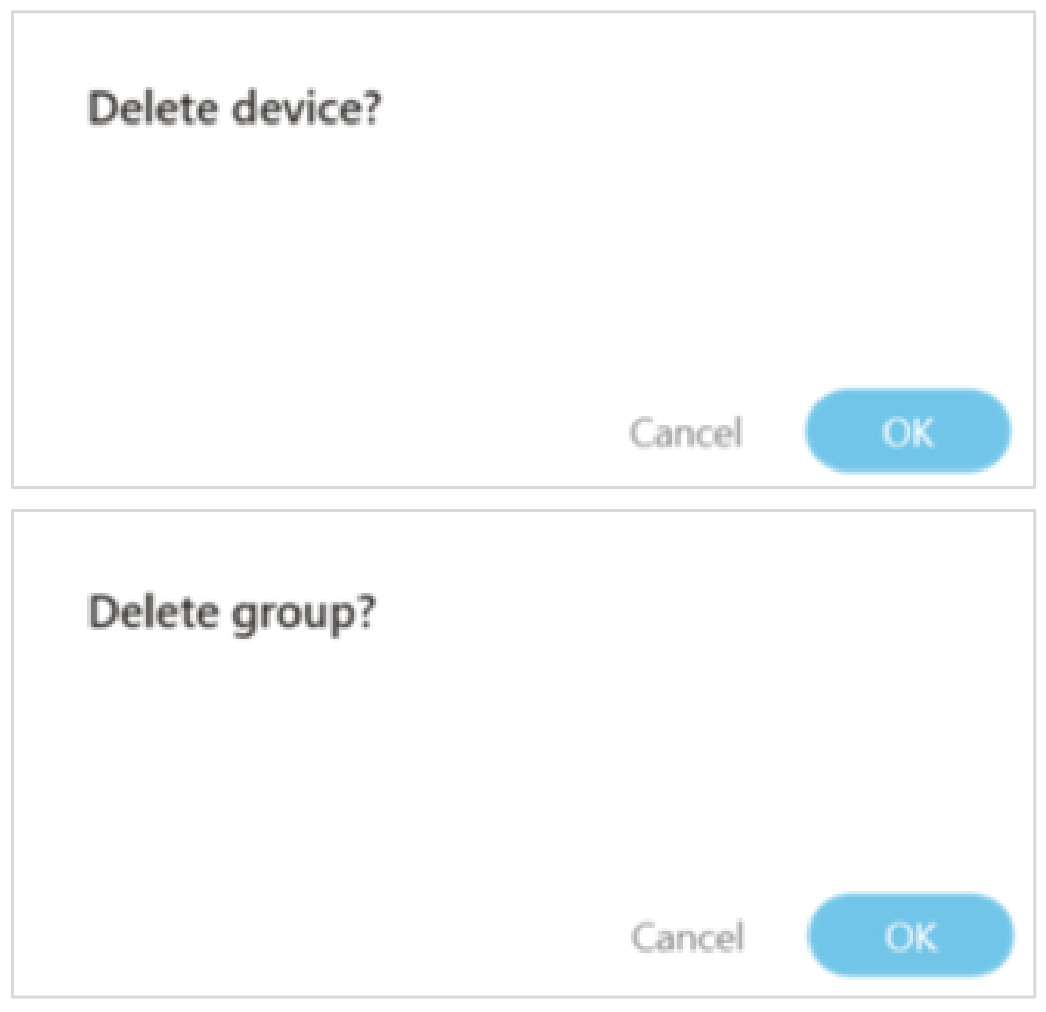
A confirmation message appears on the screen. Click OK to delete the selected device or group.
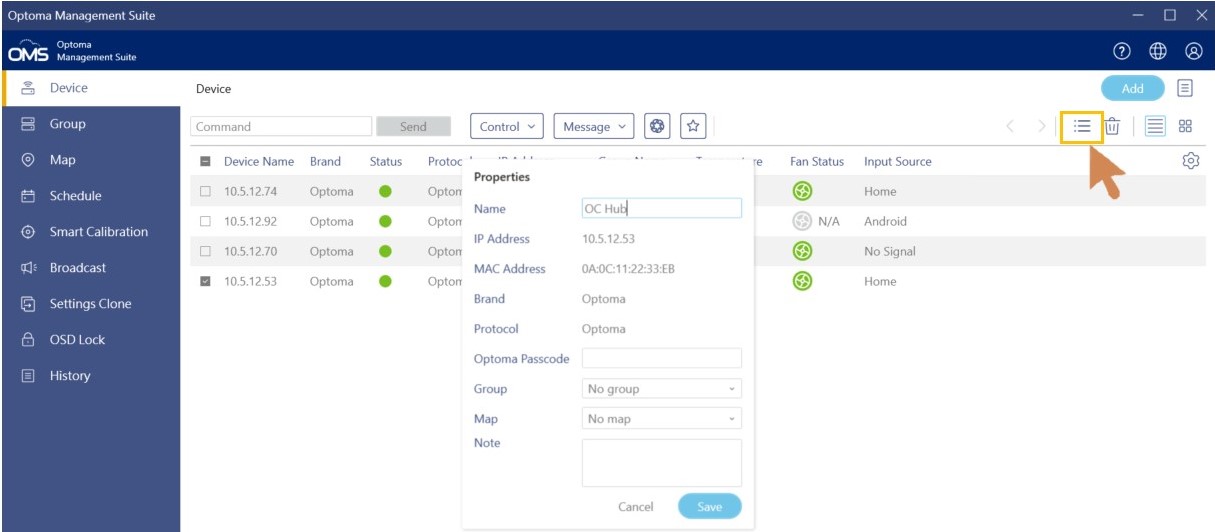
Change the device properties
To modify device information, do the following:
Select the device whose information you would like to change, and then click the Properties icon (![]() ).
).
Information modification includes: Device name, Optoma Passcode, Group name, Map and Note.