Quick Tour
Settings clone
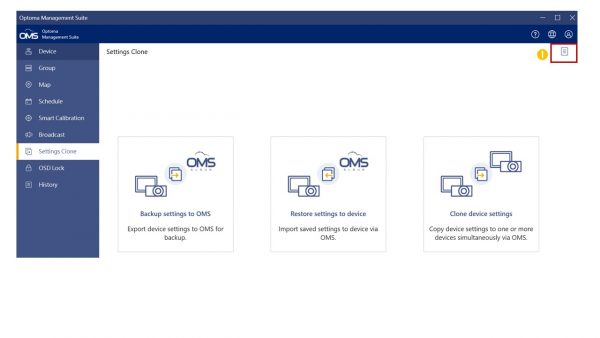
To save users the trouble of replicating multiple device settings, the settings clone function allows users to clone settings from one device to another.
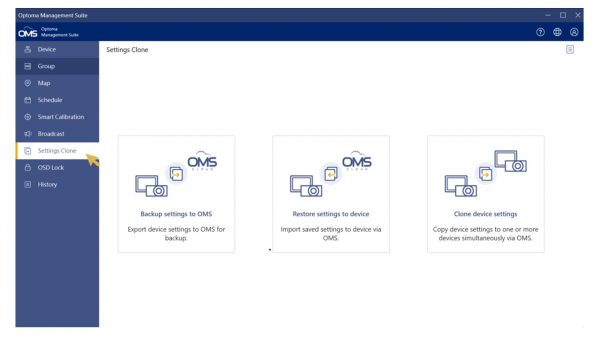
There are three options available for settings clone:
1. Backup settings to OMS
2. Restore settings to device
3. Clone device settings
Note:
1. The settings clone function only supports the specific Optoma devices.
- Projectors support OSD settings clone.
- IFP/FP devices support launcher settings clone.
- Please refer to the device user manual for more details.
2. The device must be a matching model of the same firmware version.
3. In the process of OSD cloning, the devices don’t react to any commands and hence no commands can be executed.
Backup settings to OMS
1. Click Backup settings to OMS to export device setting file
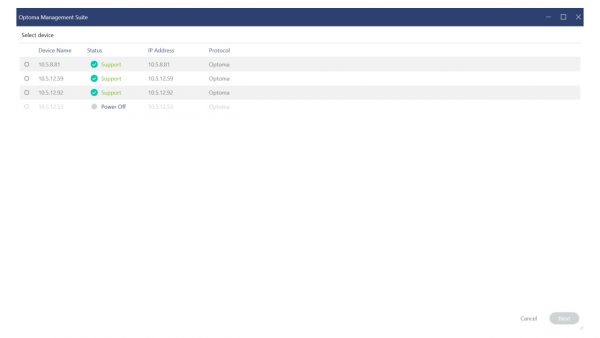
2. Select one of the devices and enter the device name and password to export the file
Note:
• Projector is security lock password.
• IFP/FP is advanced password.
• The default password is 1234. Please check the device user manual for details on Password settings.
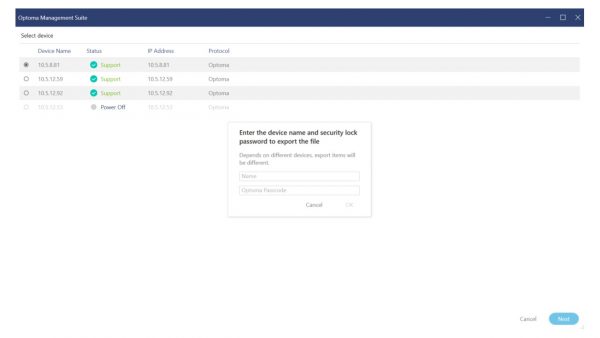
3. Click” Next” to export the file
The file has been exported.

Restore settings to device
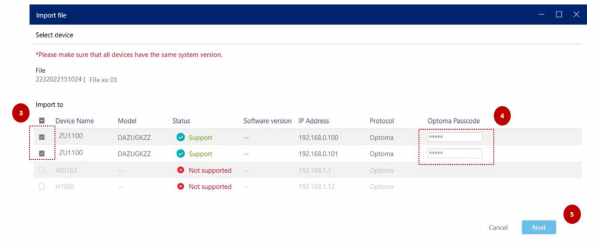
1. Click Restore settings to device to import device setting

2. Select file

3. Select device/s
4. Confirm the Password.
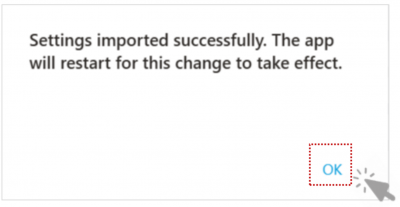
5. Click “Next” to start the import process
Clone device settings
Copy device settings to one or more devices at once via OMS.
Consolidate backup and restore processes into a single process for replication to multiple devices.
Smart calibration
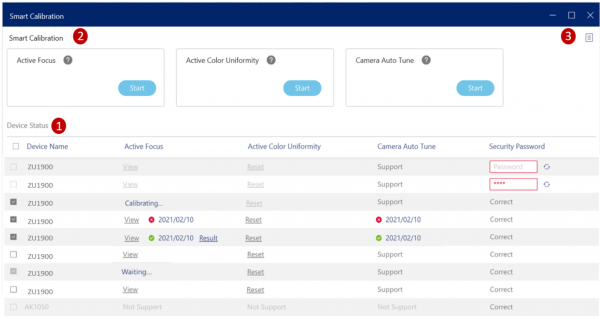
Device status
1. Supported or not supported status
2. Security Password, please refer to the projector user manual to set or change the security password. The default password is 1234.
3. Calibration status: Calibrating or Waiting….
Smart calibration
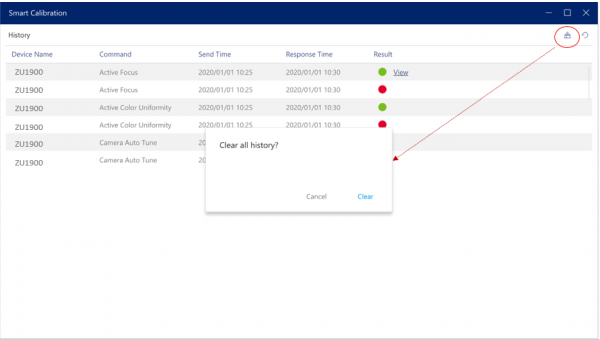
History
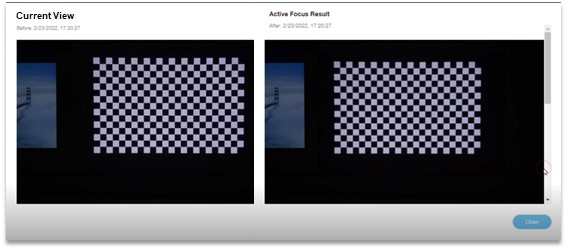
1. Click ” ![]() ” to view the Smart Calibration history
” to view the Smart Calibration history
2. Result: Success: ![]() Failed :
Failed :![]()
3. Click ” ![]() ” to clear all history
” to clear all history
4. Click ” ![]() ” to refresh the status
” to refresh the status
HQPro1000
OMS supports HQPro 1000 functions as follows:
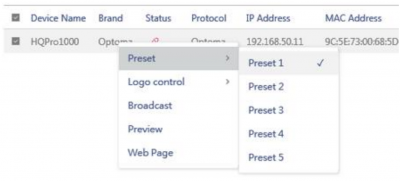
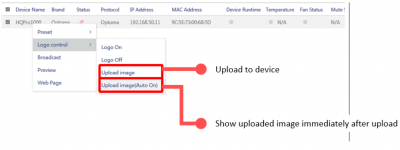
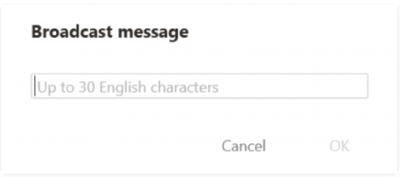
1. Right-click the HQPro 1000 device to pop up the function menu
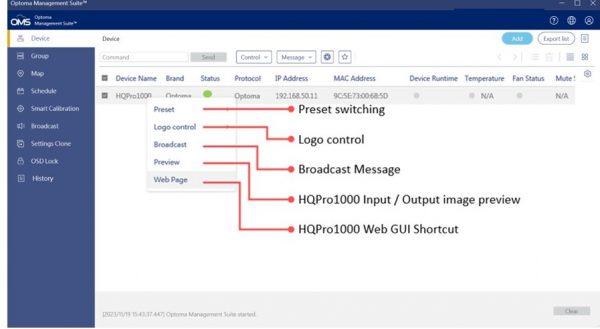
2. Function menu table
Settings
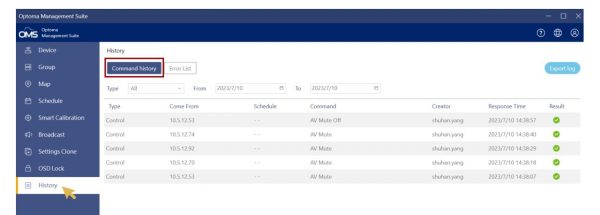
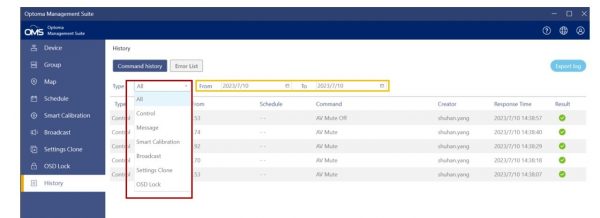
History/Action log
Error list
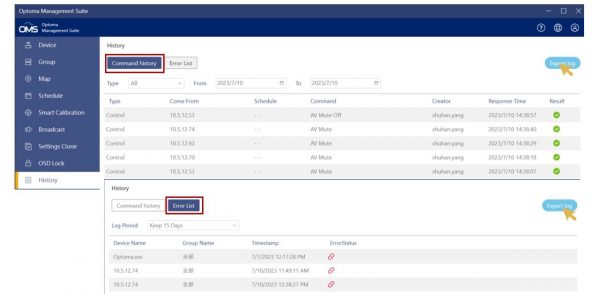
To view the list of errors, click Error List on the top menu panel and view the error list for a specified number of days; select from the drop-down menu-Log Period: 15days / 30 days / 60days / 90days
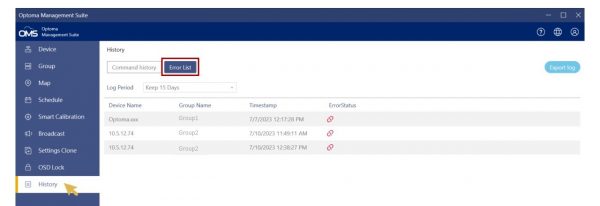

From this page, you can view information about the errors that are occurring on the devices.
| Error icon | Definition |
| System overheating | |
| Fan Error | |
| Light error | |
| Network Disconnected |
Note:
• To refresh the page, click” ![]() “to Refresh.
“to Refresh.
• To save the error list, click”![]() “to Save
“to Save
• To Clear the error list, click”![]() “to Clear
“to Clear
History/Action log
Export log
Click Export Log to save the log file (command or error history)
Select the location where you want to save the file, and then enter the file name and click Save.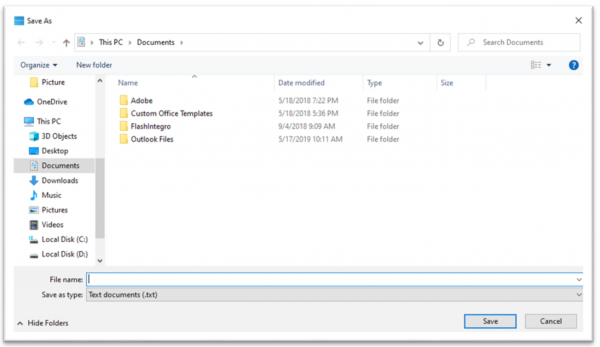
Hybrid Gateway
Set up a hybrid gateway to manage all displays via a single OMS Cloud platform in a secure network environment.
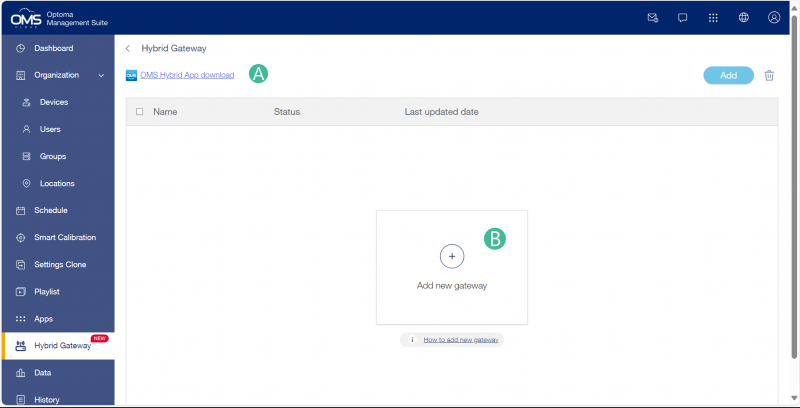
How to set up a Hybrid Gateway
1. Download OMS Hybrid App from the Optoma Support Centre
2. Installing the OMS Hybrid App on a PC
3. Copying OMS Cloud Code to OMS Hybrid App
4. Pairing complete
Download the OMS Hybrid App and install
1. Click OMS Hybrid App download to go to the Optoma support centre.
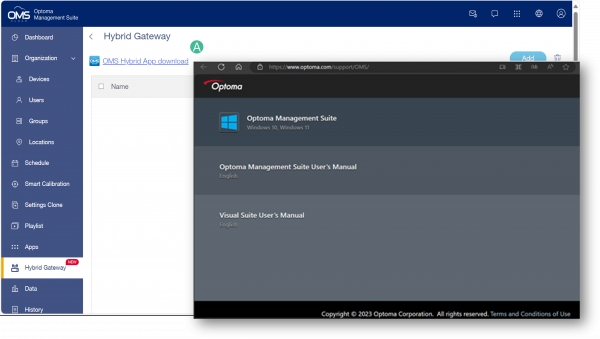
2. Select the App and download it to your computer for installation.
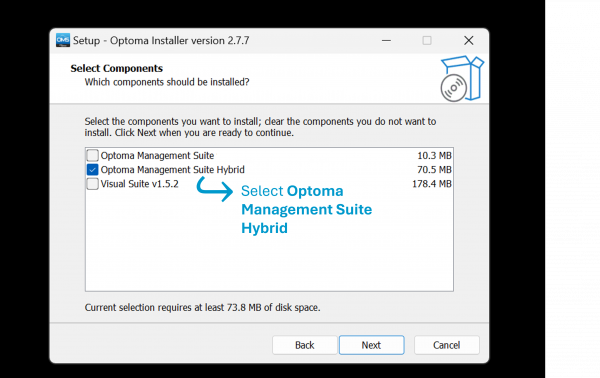
3.Please note that when installing the App, please choose to install Optoma Management Suite Hybrid.
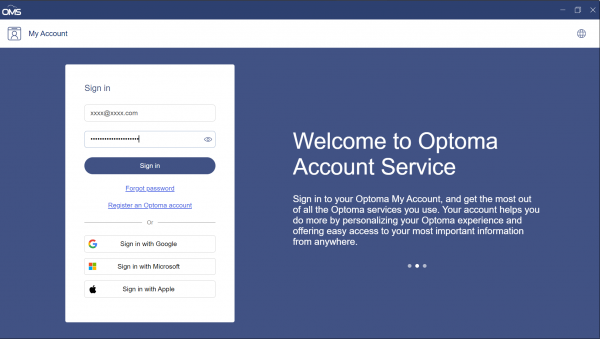
3. Log in to the OMS Hybrid App using your OMS Cloud account.
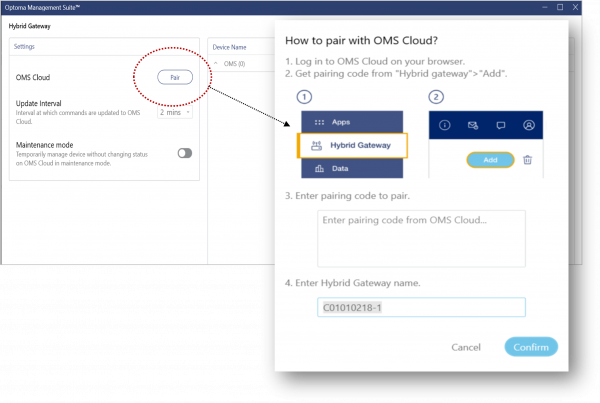
Starting the pairing process
1. Click the “Hybrid Gateway” icon in the upper right corner to open the connection page.
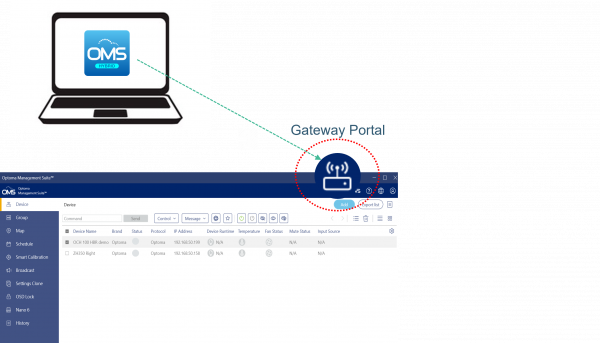
2. Click the “Pair” button to start the OMS cloud pairing process
Retune to OMS Cloud
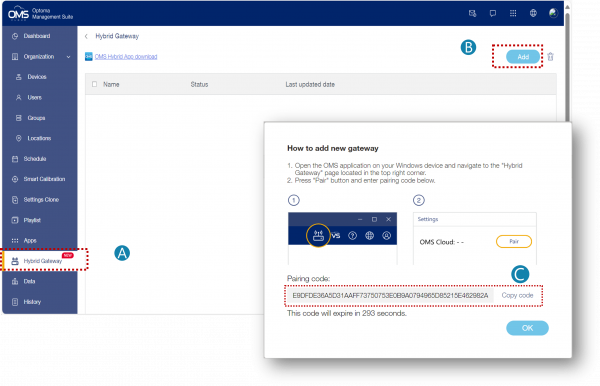
A. Enter the Hybrid Gateway menu
B. Click “Add” a new gateway
C. OMS Cloud generates pairing code
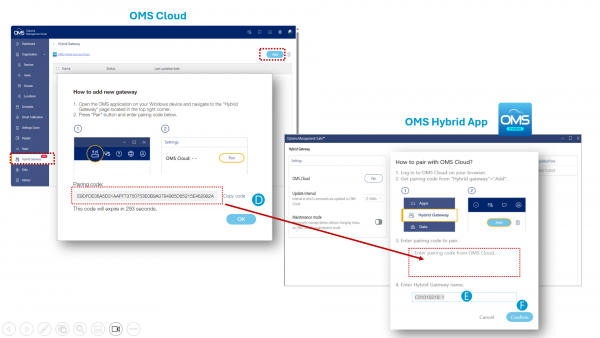
D.Copy the code and paste it into the OMS Hybrid App
E. Enter Hybrid Gateway name
F. Click “Confirm” to complete the process
.

