Toolbar
The Toolbar is located on the bottom of your canvas and its functions are detailed below. Please note that the toolbar items may vary slightly between android and web versions.
Menu
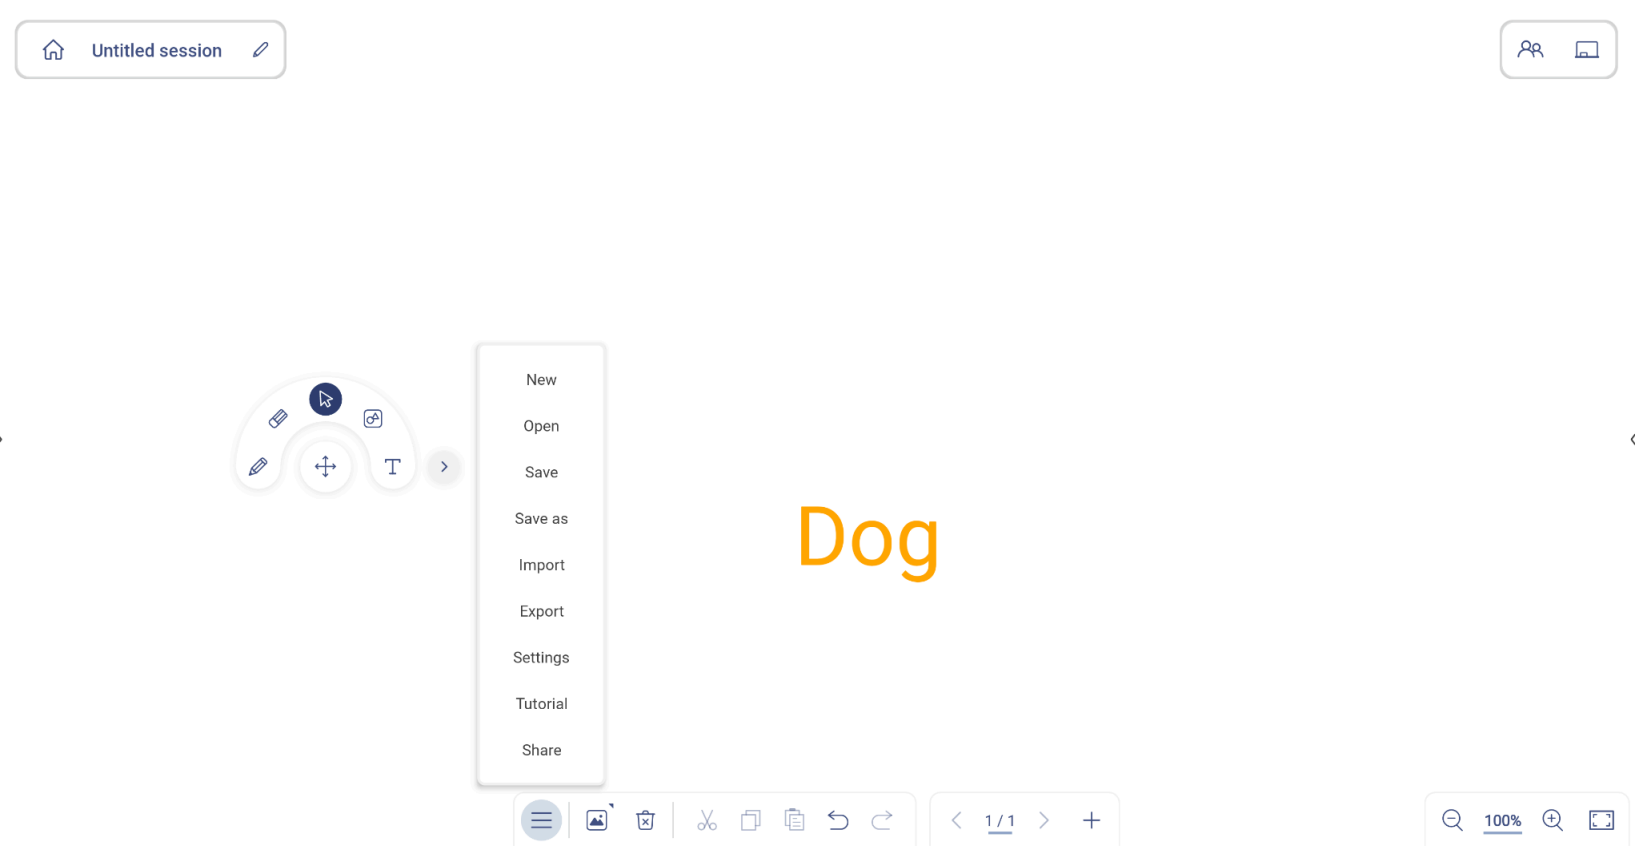
In the Android version, the menu is located on the toolbar at the bottom left, while in the web version, it is located on the top header. Below are the options available in the menu on the Android version:
- New: Create a new session.
- Open: Open an existing collaboration or non-collaboration session.
- Save/Save As: Save the current content to a collaboration or non-collaboration session.
- Import: Import a JPG, PNG, or PDF file onto your canvas
- Export: Export the session’s contents as a JPG, PNG, or PDF file.
- Settings: Opens the settings menu where users can enable or disable auto-saving for non-collaboration sessions, activate eye protection writing mode, customize the floating toolbar, and check for any available software updates.
- Tutorial: Open up a basic tutorial to help you navigate the Whiteboard application.
Share
Supported version: Android
Whiteboard offers two convenient methods for sharing class notes, files, and presentations with students and colleagues. To access these sharing options, follow these steps:
- Tap the menu icon located at the bottom of the toolbar.
- Select “Shares” from the menu.
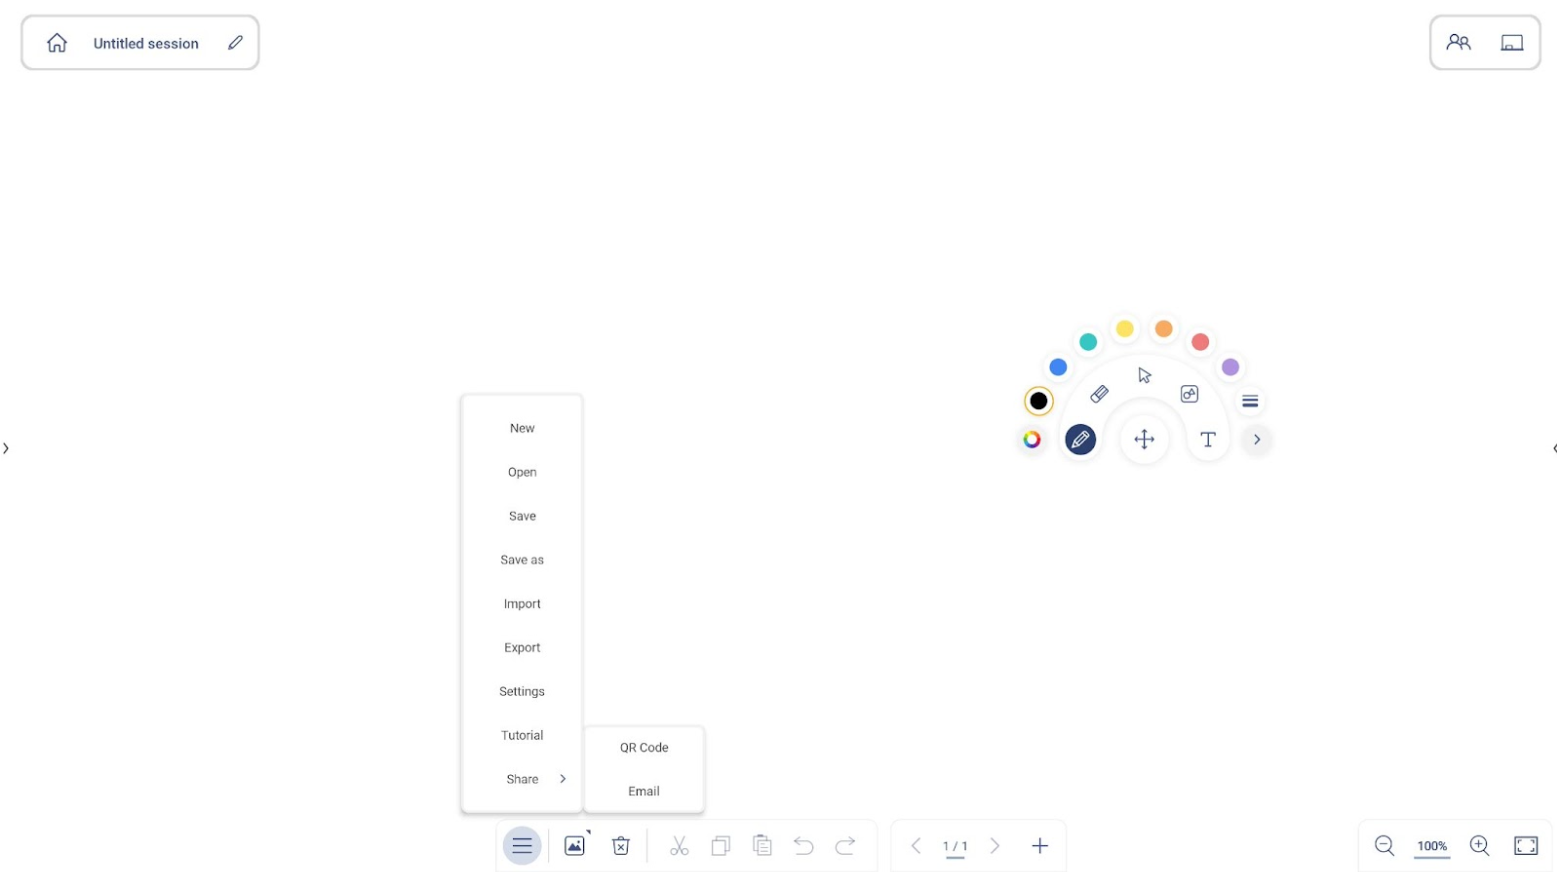
You can use the following options to share the canvas’ content with others:
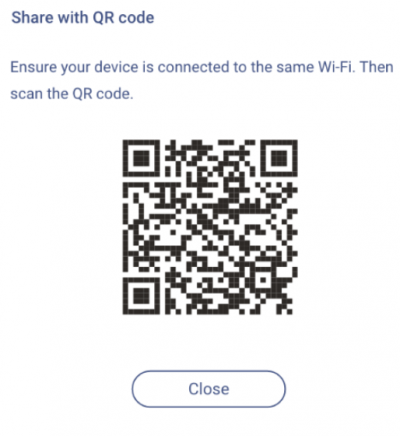
- QR Code: Share the canvas using a QR code. Before scanning the QR code to download the file, ensure that the IFPD/FP and your mobile device are connected to the same Wi-Fi network.
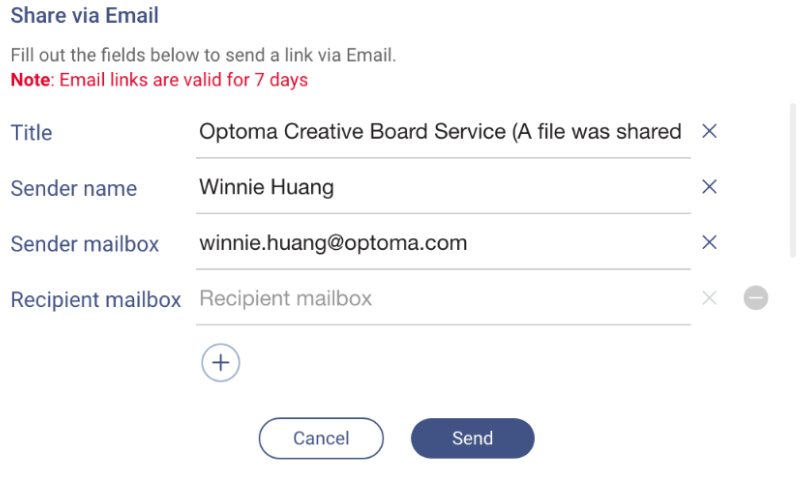
- Email: Share the canvas with others via email. Follow the on-screen steps to send an email to share.Add recipient’s email address and tap Send, then the system will automatically send a download link to your recipient. Please Note that download links are valid for 7 days. If you would like, you can also customize the Title field (subject line of the email) before you tap Send.

Background – color & template
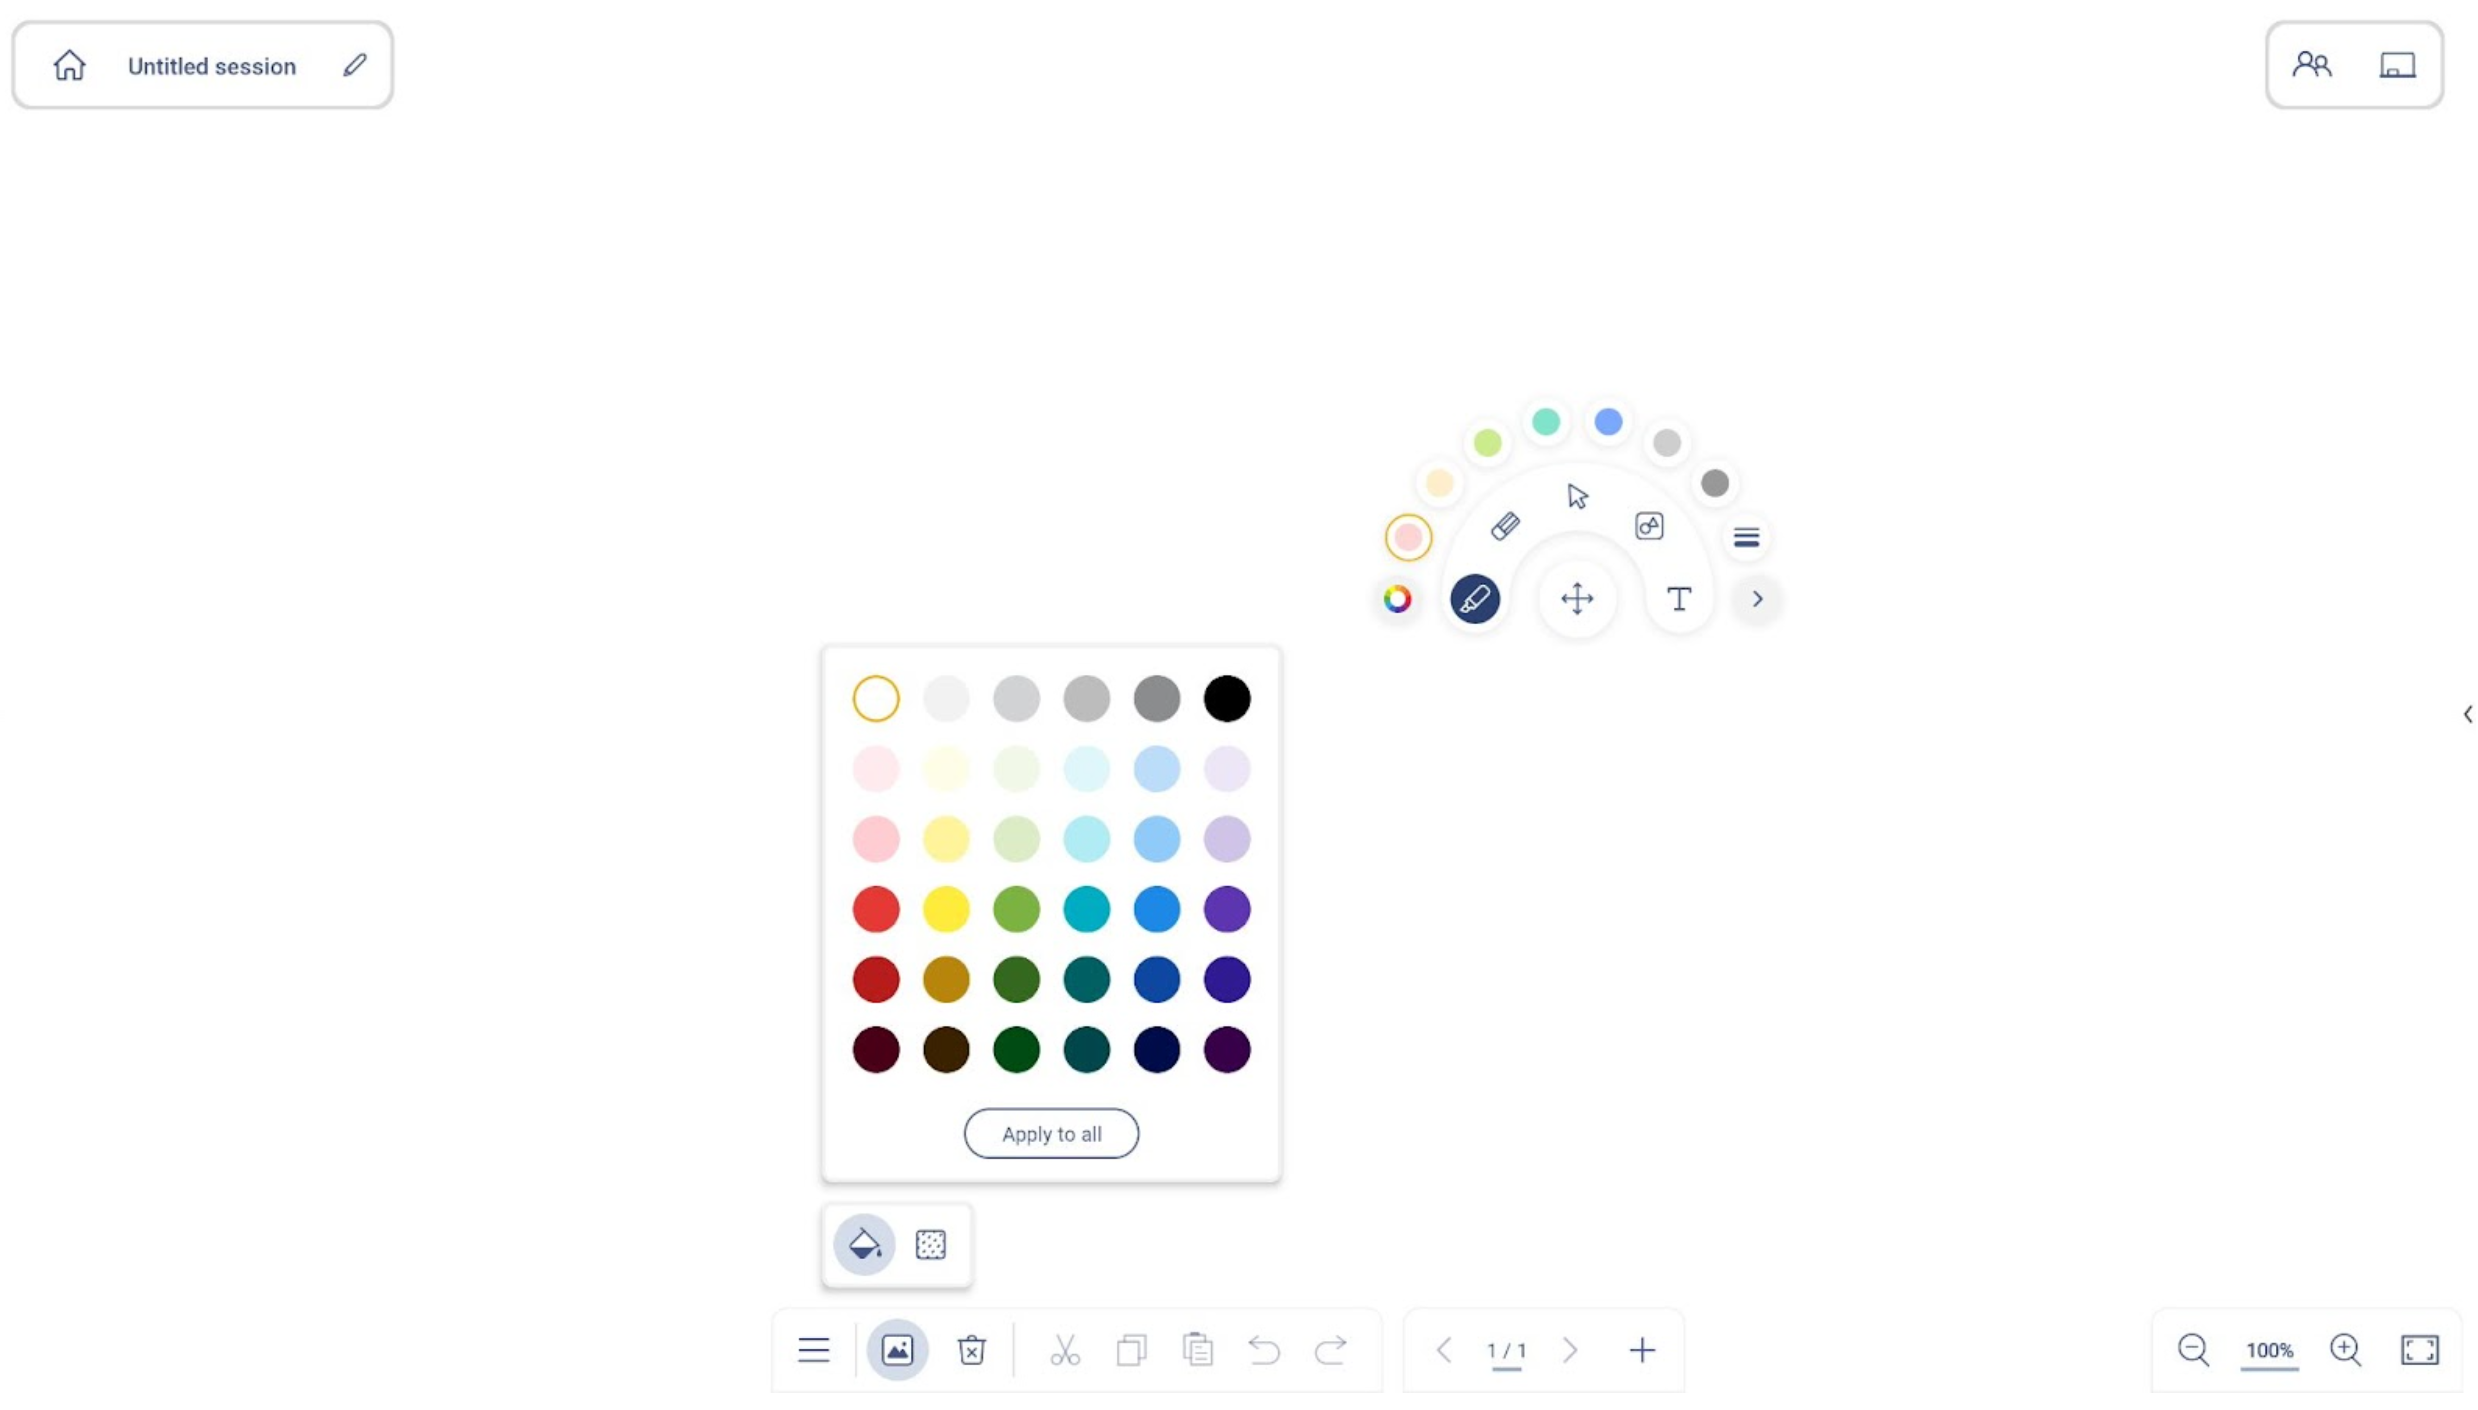
Click the paint bucket icon in the toolbar to change the background color.
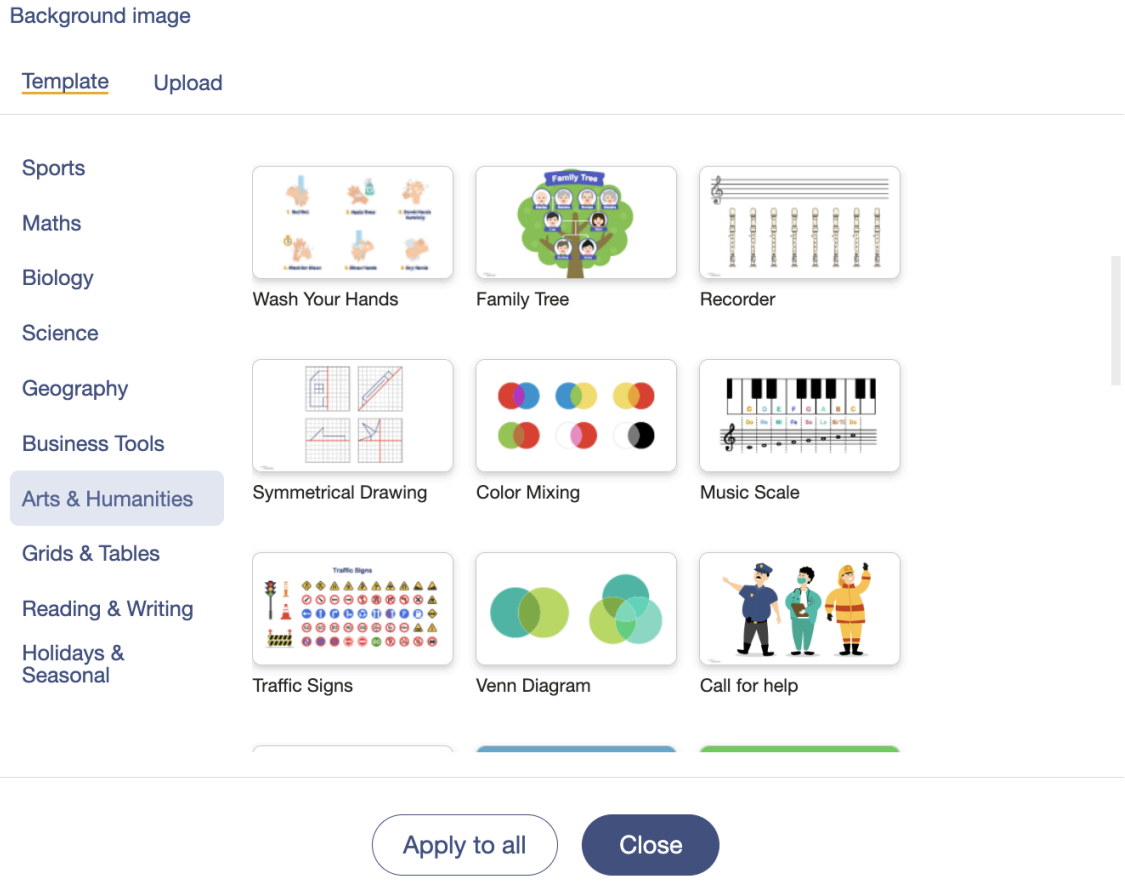
To change the background template, click the background icon next to the paint bucket in the toolbar.
Optoma provides a variety of built-in educational and business templates in different categories for quick use. You can also upload your own personal templates by tapping the “Upload” tab at the top.
Selecting “Close” after choosing a template will apply the selected template to a single page within your Whiteboard session. To apply the same template to all pages within your Whiteboard session, simply select the desired template and tap “Apply to all” at the bottom.
Manage Objects
Delete
Click the delete icon ![]() to delete all objects of the page.
to delete all objects of the page.
Cut
Click the cut icon![]() to cut selected object(s) or Ctrl+X or Command-X.
to cut selected object(s) or Ctrl+X or Command-X.
Copy and Paste
Click the copy icon ![]() and paste icon
and paste icon![]() to copy and paste.
to copy and paste.
Undo and Redo
Click the undo icon and redo icon ![]() or press Ctrl+Z and Ctrl+Y or Command-Z and Command-Y.
or press Ctrl+Z and Ctrl+Y or Command-Z and Command-Y.
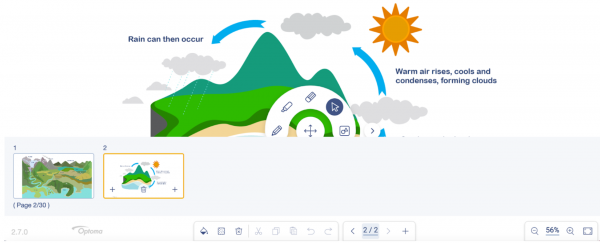
Editing pages with page roll
The page roll is a fundamental component of the whiteboard interface, serving as a visual representation of all the pages within a particular project or session. It allows users to easily manage and navigate between pages. Here’s how to edit pages using the page roll:
Inserting and Deleting Pages
Click on the page roll icon in the toolbar to access a thumbnail view and list of pages. Utilize the options provided to insert or delete pages as needed.
- Adding a New Page:
At the bottom of the whiteboard, click the page indicator . This action will reveal the page roll panel.
In the page roll panel, tap or click the [+] icon to add a new page. The page indicator will display the total number of pages on the whiteboard.
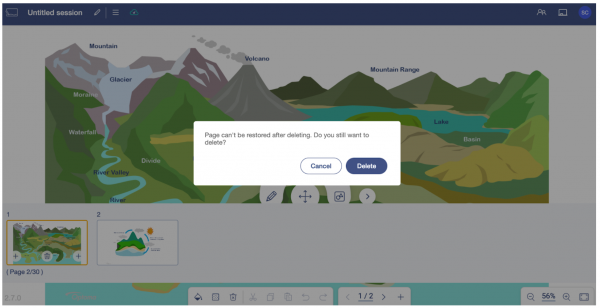
Note: Only the session owner can add pages. - Deleting a Page:
Select the thumbnail of the page you want to delete. Tap or click the delete icon to remove the selected page.


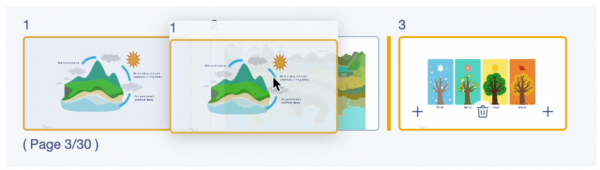
Changing the page order and navigating between pages
- Click on the thumbnail of a page to quickly navigate to it.
- To rearrange pages, long-press a page’s thumbnail for two seconds until it turns semi-transparent, then drag to move it to the desired position.

By following these steps, users can efficiently edit and manage pages within their whiteboard sessions with the page roll feature.
Infinite canvas & preview
An infinite canvas provides an expansive workspace where content can be created, organized, and explored without limitations.
Preview
The Preview function helps you get a quick overview of the entire whiteboard before finalizing or sharing it. This feature allows users to zoom out and check the entire canvas layout, providing a better understanding of the overall composition and arrangement of the content.
Pan
By panning, users can move the viewpoint and access different parts of the canvas without changing the scale.
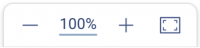
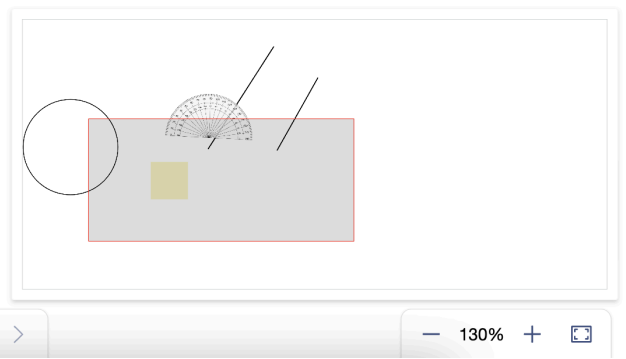
Zoom In/Out
Infinite canvas supports zooming in and out. Users can quickly adjust the level of detail and magnification of the content.
- Zoom out (-): The content becomes smaller and farther away, creating more canvas space. The minimum zoom out percentage is 30% for 4K resolution.
- Zoom in (+): The content becomes bigger and closer. The maximum zoom in percentage is 300%.