
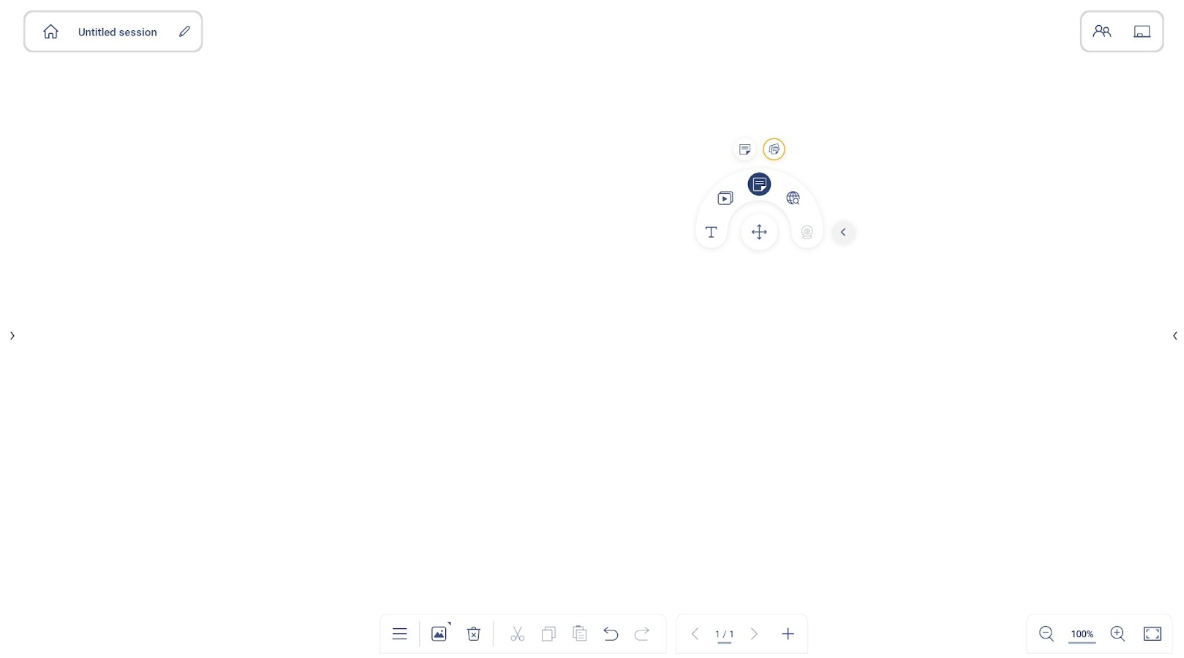
Basic controls – Floating Toolbar
These are the functions you are likely to use the most; the tips below will help to familiarize you with the Floating Toolbar! Tap and hold the crosshairs in the middle of the floating toolbar, then drag to easily move the toolbar around the canvas. Tapping the crosshairs once will minimize it, then tapping once more will open it again.
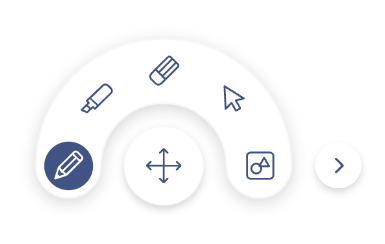

Each function will be introduced in more detail below:
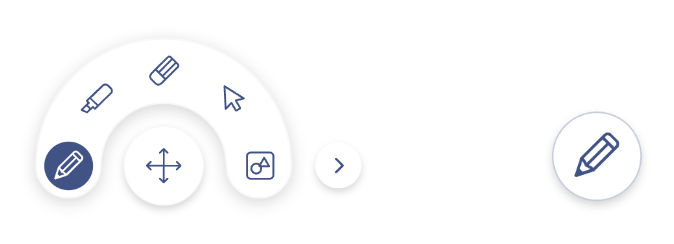
Pen tools
Basic pen tools – Pen 1/Marker
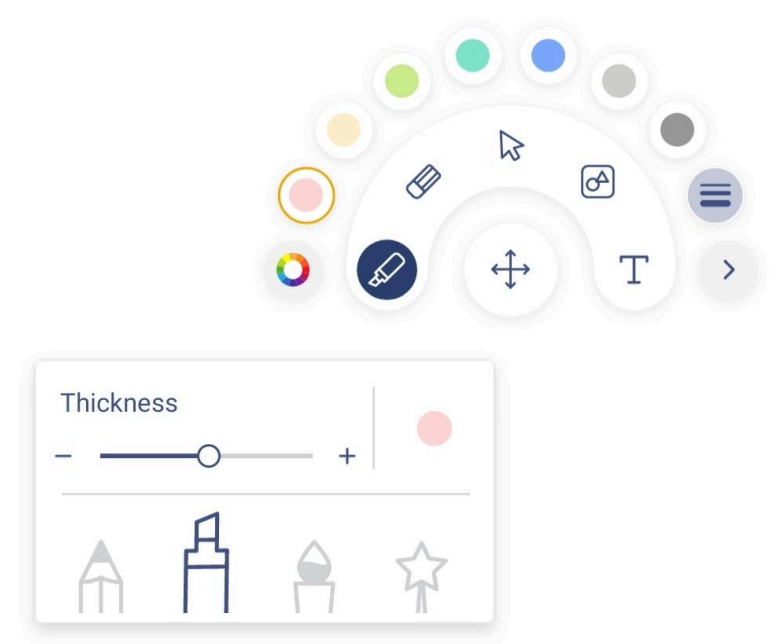
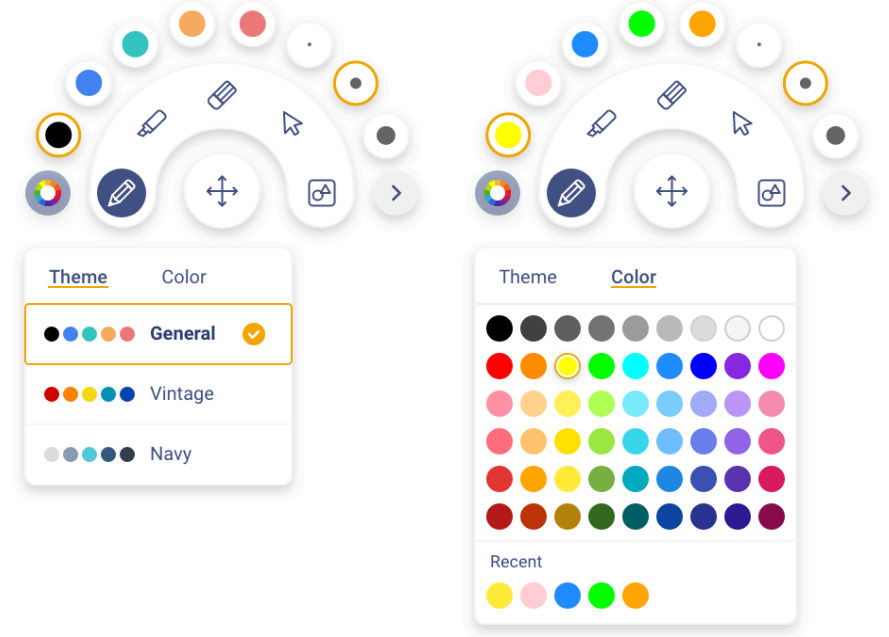
Tap the icon and start writing and drawing freely. Users can select the desired line color and thickness on the outer ring. Tap to modify the color palette. There are 5 pre-configured color themes for quick selection.
While writing with an Optoma IFPD, users can also use their finger as a pen. Please note that Optoma IFPDs support up to 20 points of touch on our screen. Up to 10 people can draw on the Whiteboard at the same time.
Advanced Pen Tools – Pen 2 & Magic pen
Supported version: Android (IFPD Device model: 5-Series Gen 3 / 5xx3RK)
Pen 2
Optoma 5-Series Gen3 touch panels offer a smooth and responsive writing experience. Pen 2 mimics handwriting capabilities, suitable for note-taking, annotation, and drawing.

Magic pen
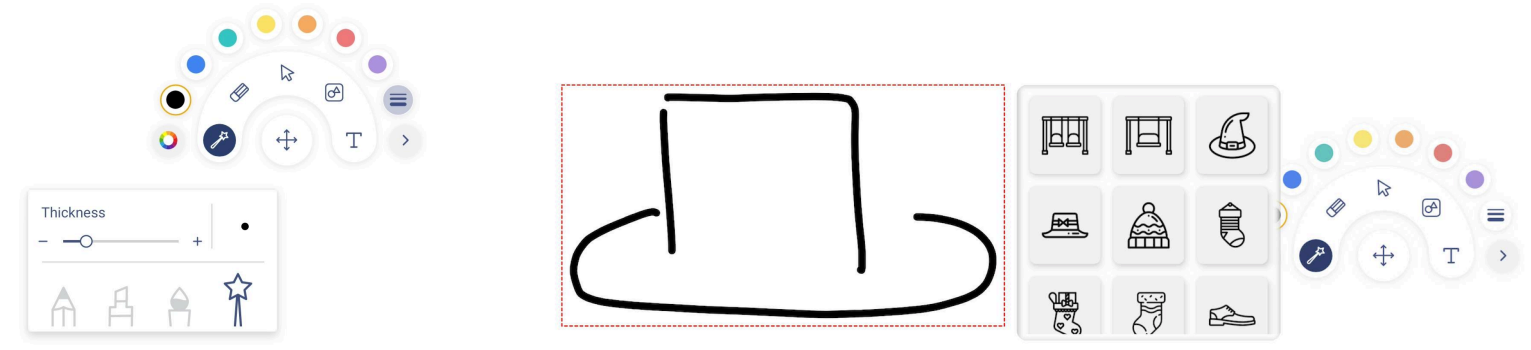
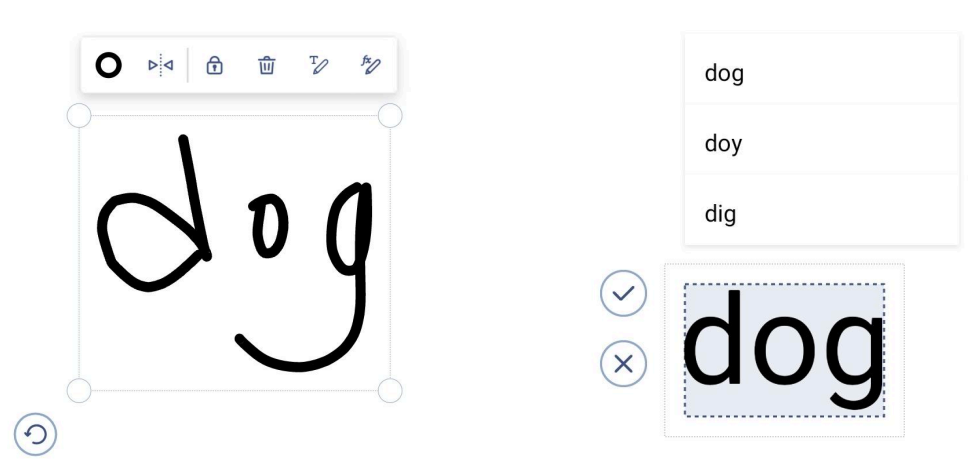
The Magic Pen is a Pen tool that allows users to draw an object and then displays corresponding images.
To use the Magic Pen:
- Click the Pen tool on the Floating Toolbar
- Select the Magic pen
- Draw on the canvas
- Choose from the images suggested by the Magic Pen, then tap the image to convert your drawing and add the selected image onto the canvas
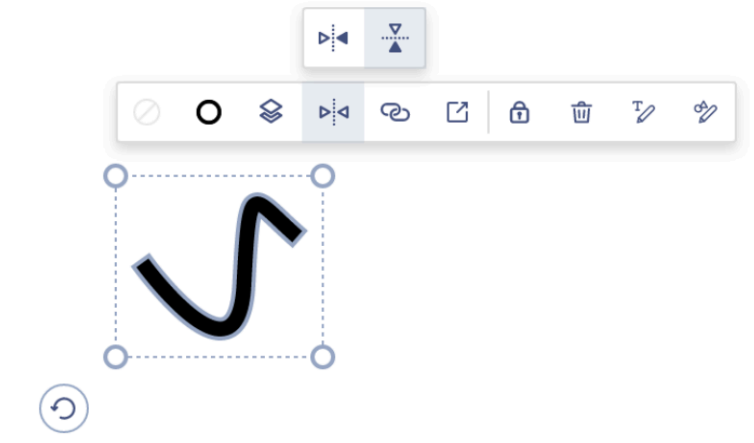
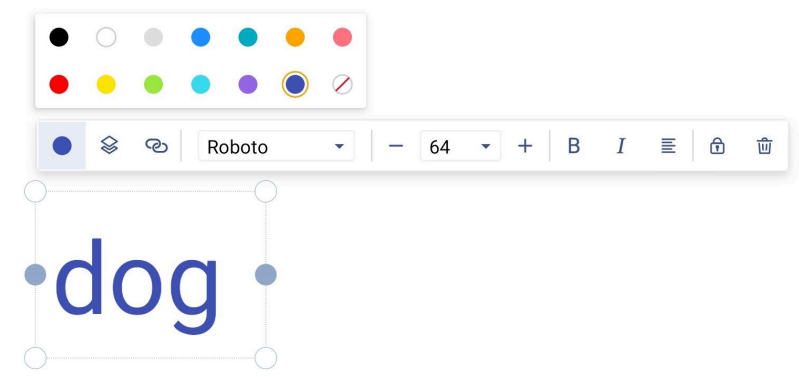
Once added to your canvas, the following actions can be applied to the new object:
- Resize using the Selection tool
- Change the color using the control bar
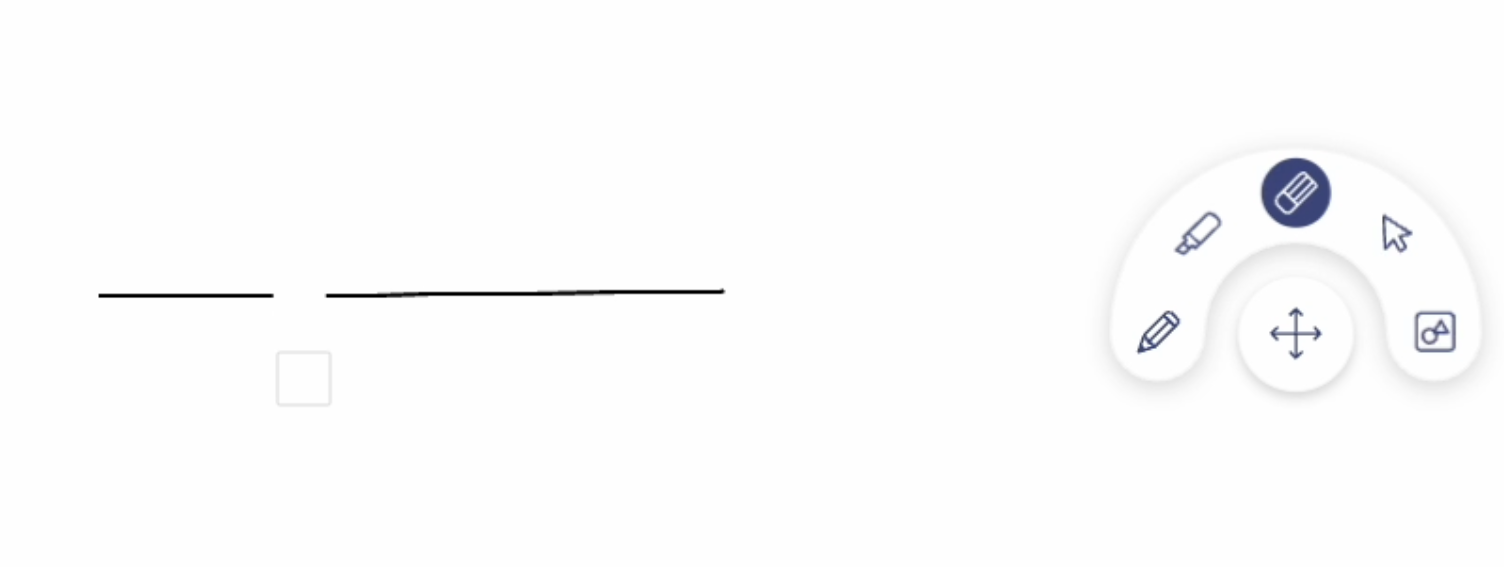
Eraser
This tool erases areas of written text or drawings on the canvas. Select the eraser size and drag the stylus or your fingers over the area to be removed.
Palm eraser
Supported versions: Android
When using an Optoma IFPD, you may also use your palm as an eraser.
While in the canvas, touch the Optoma IFPD with the palm to activate the palm eraser and immediately begin erasing the writing/drawing you want removed.
Selecting & controlling objects
Using the selection tool, tap on an object or click and drag to select a single item or multiple items on the whiteboard’s canvas. After the object is selected, the following general control functions can be performed:
- Enlarge or reduce size (with boundary points)
- Move (drag and drop the selected object(s) anywhere on the canvas)
- Change the color
- Duplicate (make a copy)
- Delete
- Rotate
In selection mode, in addition to general controls, various options may be available, depending on the object type. For example, pen-drawn objects can be selected, rotated, moved, duplicated, deleted, mirrored, hyperlinked, and scaled. Additionally, users can adjust the object layers by pinning them to the top or bottom layers.
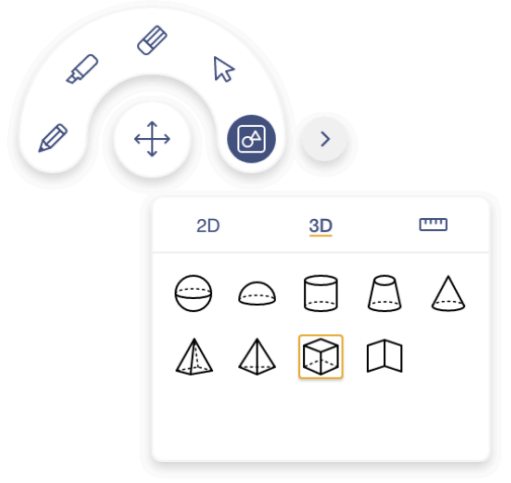
Shapes and Lines
You can create 2D and 3D shapes, as well as lines. By pressing ![]() you will have access to all the available shapes, lines, and tools. Simply tap the Shapes and Lines or other tools icon on the pop-up options.
you will have access to all the available shapes, lines, and tools. Simply tap the Shapes and Lines or other tools icon on the pop-up options.
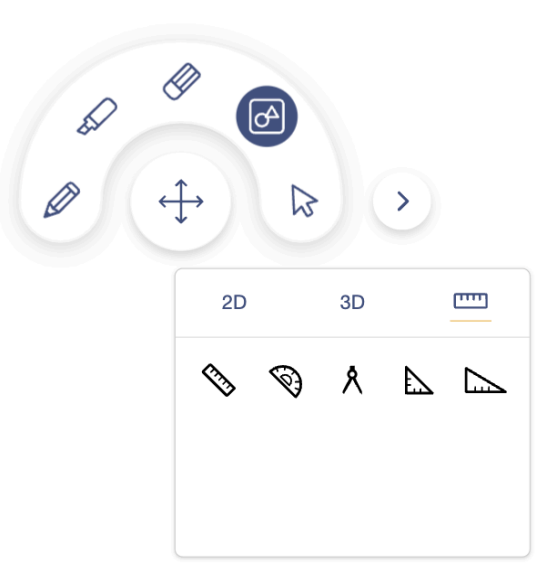
Tools
There are four tools available: ruler, protractor, compass, and set square.
Tap on a tool to select it.You can use the ruler to measure distances, draw straight lines, or even select the protractor to measure and draw angles. Each tool offers different available actions.
Ruler
Here are the actions for the ruler tool:
- Move: Using the selector to select and drag the ruler or the inner section of the ruler’s middle section to move it around the canvas.
- Extend: Click and hold on the
 , then drag the left or right side of the ruler to extend it.
 - Rotate: Click and hold on the , then drag either end of the ruler to rotate it.
- Unit Conversion: Press
 to swap the upper and lower scale units.
 - Draw a line: Use the pen tool to tap and drag or click, hold, and drag along the top or bottom edge of the ruler to draw a straight line.
- Remove from canvas: Press
 to close the ruler tool.

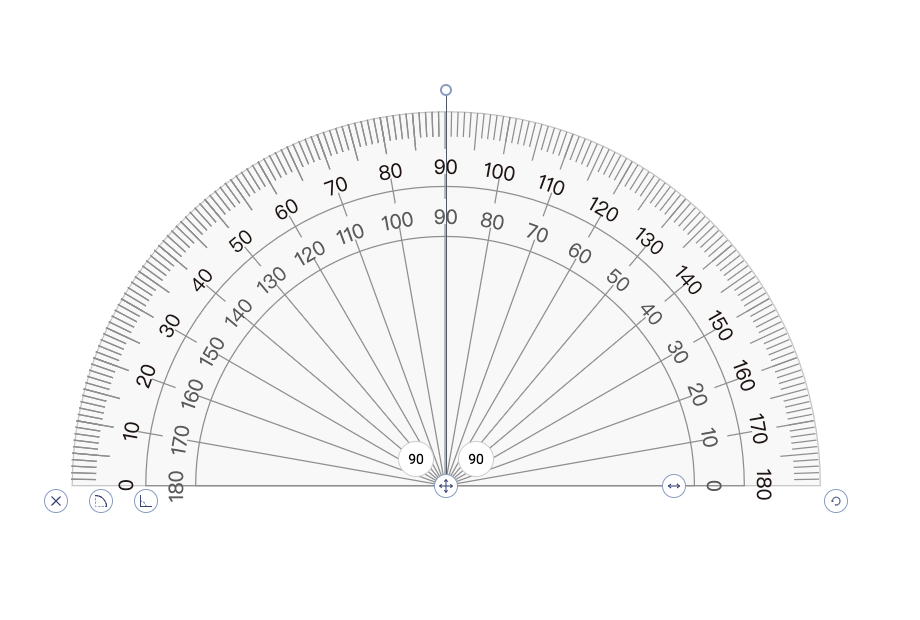
Protractor
- Move: Using the selector to select and drag the protractor or the inner section of the protractor to move it around the canvas.
- Resize & Rotate: Press and drag on the protractor to rotate & resize it.
- Draw angle line: Hold and move the handle to draw angle line, the current angle is displayed in the following indicator on the protractor, then using
 or
or  to draw angle or arc.
 - Remove from canvas: Press to close the protractor tool.
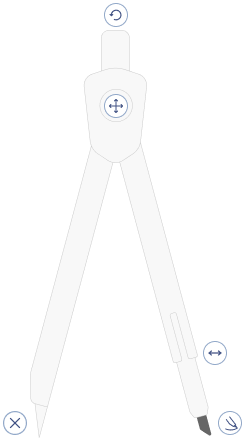
Compass
- Move: Using the selector to select and drag the compass to move it around the canvas.
- Rotate: Press and rotate on the
 of the top of the side to rotate the compass.
 - Widen the radius: Press to widen the radius of the compass.
- Draw the radius: Press and drag at the
 of the compass to draw an arc or circle on the canvas
 - Remove from canvas: Press to close the protractor tool.
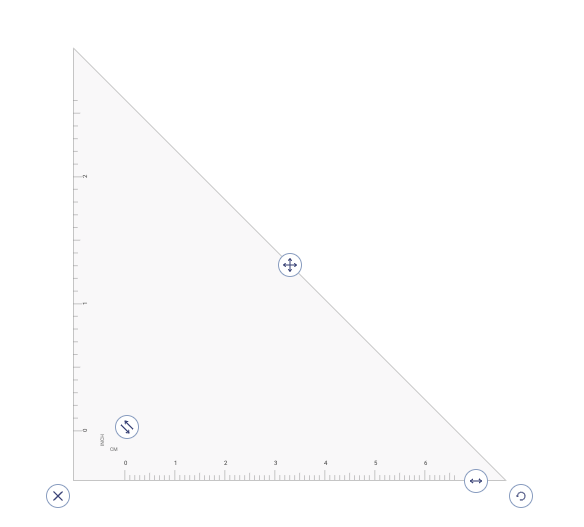
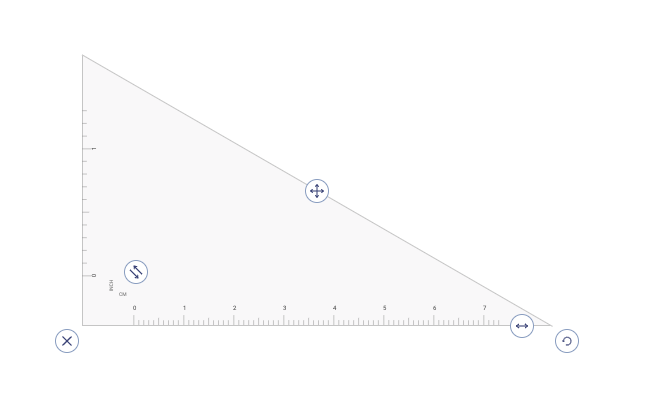
Set square
To draw accurate triangles using a set square on a canvas, follow these steps:
- Move the Set Square: Using the selector to select and drag the set square to move it around the canvas. This allows you to position the set square accurately.
- Resize & Rotate: Click and drag on the of the set square to resize and rotate the tool. Adjust the size and angle as needed for your triangle.
- Draw a Line: Once the set square is in position, draw a line along any of its three edges. Use a pen or marker tool to create the line.
- Unit Conversion: If you need to switch between centimeters and inches for measurements use to conversion ratio to adjust your measurements accordingly.
- Remove from Canvas: When you’re done using the set square, press the button or close the protractor tool to remove it from the canvas.
Text input
With this feature, you can easily type, edit, and format text directly on the Whiteboard canvas, facilitating clear communication and organization of ideas.
Handwriting recognition support
Supported version: Android
This feature enables handwriting recognition, converting handwritten letters and words to typed text. Follow the steps below to use this function:
- Use your finger or the IFPD stylus to write on the Whiteboard canvas
- Using the selection tool, select the handwriting and tap the text recognition icon on the control bar to activate handwriting recognition mode and convert your handwriting into text.
Add media content
YouTube video
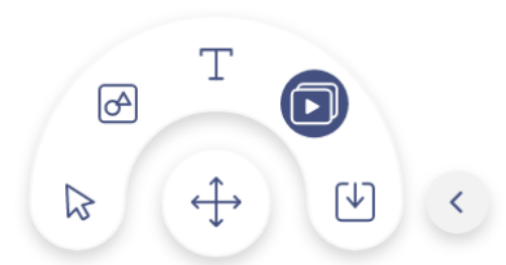
Easily search for and add YouTube videos directly, using the floating toolbar’s insert media tool . Using the YouTube search function, you’ll be able to seamlessly add and view videos without leaving the Whiteboard.
Here are the steps to add a YouTube video in Whiteboard:
- Click on the insert media icon on the floating toolbar.
- Select the YouTube tab on the left and search for a video using the search bar.
- Double-click a video from the search results or drag the video onto the canvas.
Note: Videos are added as embedded objects, which can be resized or displayed full screen.
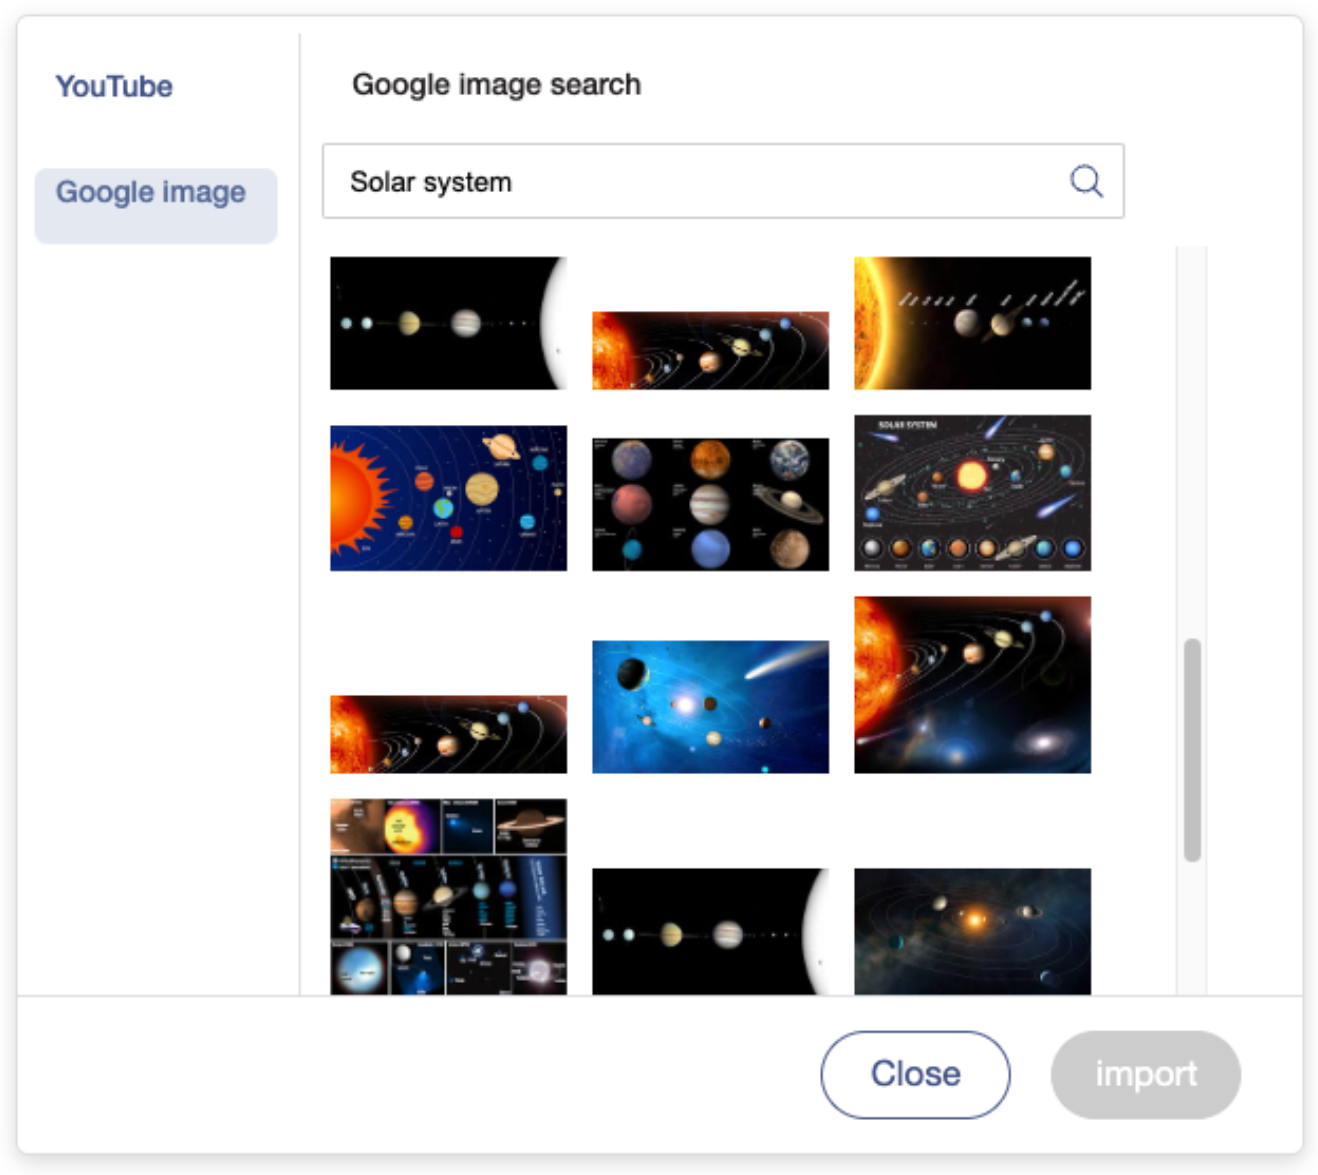
Google images
Safely search the web for images without having to leave the Whiteboard. Simply drag and drop the images you like onto the canvas. Image results are filtered to ensure appropriateness and to be free of license restrictions.
Here’s how to add an image using the Google image search function:
- Click the insert media icon on the floating toolbar.
- Click/tap the Image Search text field and add any keywords to search by.
- Click/Tap the magnifying glass to begin your search – then just look for an image you like. Double click or drag and drop the image directly onto the canvas.
Sticky note
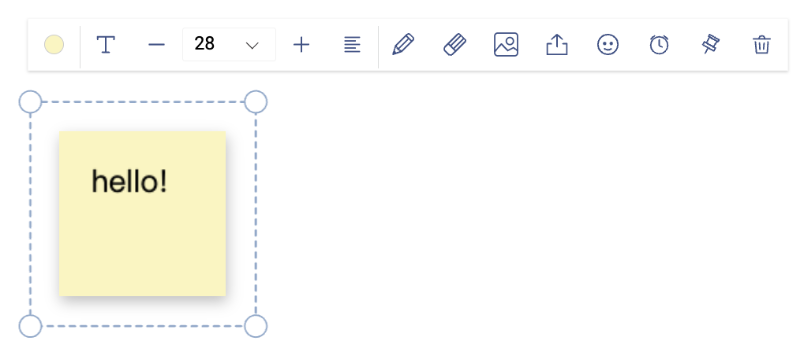
Ideal for reminders, brainstorming, and organizing your thoughts on the whiteboard. Customizable in color, size, and text, these are versatile tools for individual notes or group collaboration, enhancing productivity and creativity.
Dedicated Selection Functions: Add Text, Font Size, Alignment, Pen, Eraser, Download as PNG, Reaction Icon, Timer and Set as Always First Layer.
- Single Mode: Add 1 piece at once.

- Bulk Mode: Add up to 5 pieces at once for efficiency when needed.
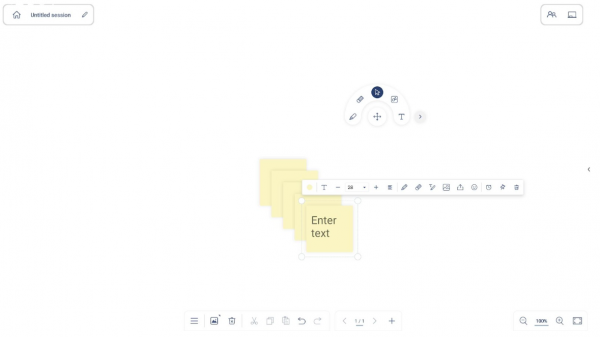
After selecting the desired insert mode (“Insert Single” or “Insert Bulk”), tap or click anywhere on the canvas. The sticky note will then appear on the canvas at the chosen location.
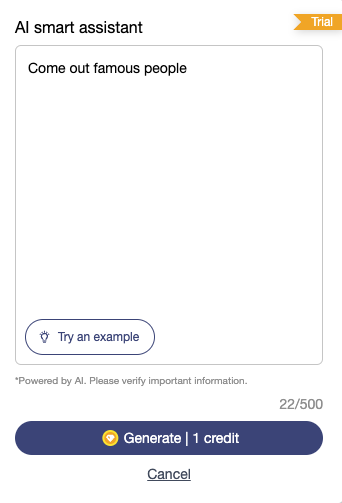
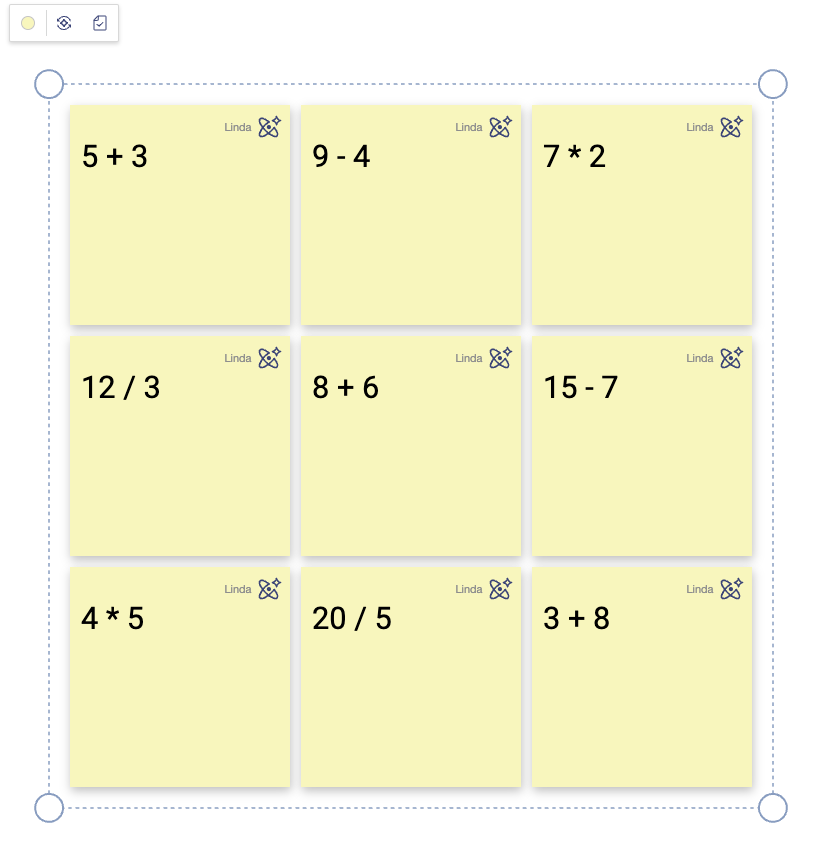
- AIGC: Integrated with AI to spark limitless ideas. Click
 and enter anything to create up to 9 similar ideas. Click
  to confirm the content or click
  to regenerate.

Import files
Importing files onto the whiteboard allows seamless integration of external content, enhancing collaboration by accessing relevant resources in real-time. This feature streamlines workflow, fosters efficient collaboration, and maximizes productivity. To import Files, just tap import on menu list and follow the listed steps:
Press Menu > Import > Choose images or files from local or cloud storage.
Supported file formats include:
- Images: JPG, PNG
- Documents: PDF, PPT, Google Slide
- Maximum file size: 30MB
For more details and limitations, please refer to the table below.
| File formats | Limitations |
| file size < 30 MB | |
| .ppt/.pptx | Max. 15 pages, file size < 30 MB |
| Google slide | Max. 15 pages, file size < 30 MB |
| .png/.jpg/.jpeg | file size < 30 MB |
Embedded browser
Supported version: Android
The embedded browser is a built-in web browser that enables users to access websites directly within the Whiteboard interface, without needing to switch to an external browser.
Click![]() on the floating toolbar and a browser with Google search will pop up. You can search for anything you’d like and then add it directly into the whiteboard to enhance your Whiteboard session.
on the floating toolbar and a browser with Google search will pop up. You can search for anything you’d like and then add it directly into the whiteboard to enhance your Whiteboard session.
The Embedded browser’s homepage consists of the following areas:
- Search engine: Type in any keywords and press enter or tap/click on the search icon to start a web search.
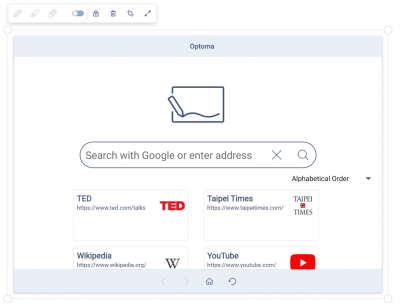
- Bookmarks: Whiteboard provides a default set of tiles already programmed with popular websites. You can edit these tiles by accessing the Browser Bookmark settings section at https://whiteboard.optoma.com/.
- Annotation tools: These tools allow you to mark-up any web page within the Embedded Browser.

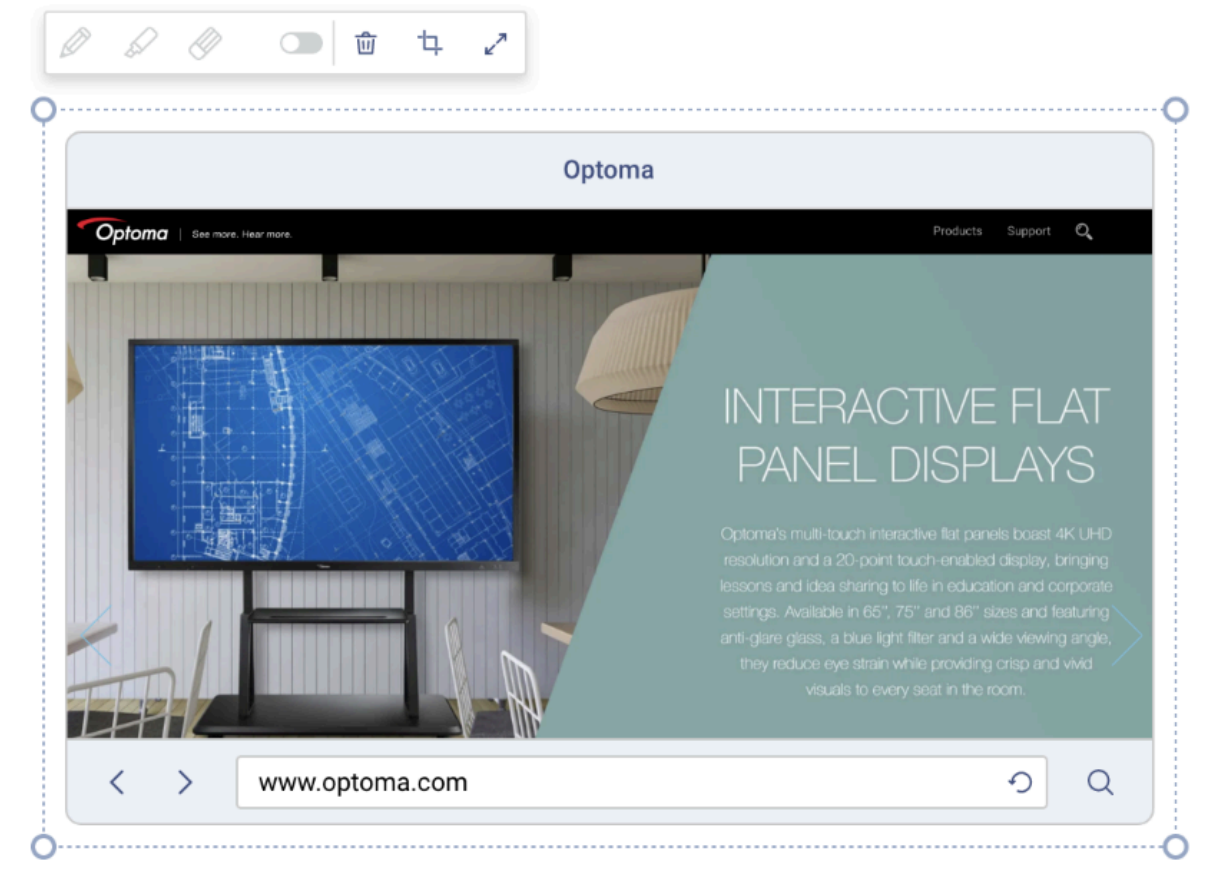
Please note the following limitations:
- The embedded browser does not track or keep a record of any previous logins, history, or searches. If a user signs out of the program and accesses it later, the user’s history won’t be saved anywhere.
- The embedded browser does not support pop-up pages.
- Only one embedded browser can be active per page at a time.
- During a collaboration session, other users joining the session cannot see the content in the browser. To share with others in the session, simply screenshot (using the embedded browser’s
 tool) the content you wish to share and it will be inserted directly into the current whiteboard session.
Document camera
Supported version:Android
The document camera function is exclusive to the Optoma IFPDs and FPs. To use, make sure your document camera is plugged into an available USB port and open the camera in Whiteboard by clicking on the camera ![]() icon on the Floating Toolbar.
icon on the Floating Toolbar.
Note: Embedded objects, such as images, must be captured via screenshot ![]() to ensure that attendees can view them on their device during collaborative sessions.
to ensure that attendees can view them on their device during collaborative sessions.